


The short answer. Clean the wall and let it dry for an hour. Lay the set out on the floor first. Tape the biggest piece up before you stick it. Peel the backing a third at a time and smooth from the centre outwards, never edge first. Press the edges last, then check in raking light and fix bubbles while the adhesive is fresh.
Most decal problems are not the decal. They are the wall, the timing, or ninety seconds of prep that got skipped.
We know this because we read every support ticket, and the same five things come up. Here is the whole job, in order, including the parts other brands leave out.

Before you start: the wall decides everything
Clean it. A damp microfibre cloth with warm water. No detergent, no sugar soap. Let it dry completely, at least an hour. Dust is the number one cause of edges lifting later, and you cannot see it.
Check the surface with your hand. Run your palm across it. If you can feel texture, the decal will bridge the high points and lift off the low ones. If you scrape a fingernail across and get a chalky white residue, that is flat or matte paint breaking down, and nothing is going to bond to it properly.
Check the paint's age. Newly painted walls need at least four weeks to cure. Paint that feels dry is not paint that has finished hardening.
Best case: smooth, clean, fully cured, low-sheen or satin paint.
Worst case: textured render, flat or matte paint, or a wall wiped with a sugar-soap cleaner and not rinsed.
If you are renting, do this first
Stick one of the small pieces somewhere nobody sees, behind the door, inside a wardrobe, low on the skirting wall, and leave it a full 48 hours. Then take it off slowly and look at the wall and at the back of the decal.
We will not tell you your paint will be fine, because no decal brand can know that. What we can tell you is that a test piece tells you about your wall, in under two days, before the whole set is up. Renters already do this by instinct. Do it here.
Apply them within about three months of delivery
This is the advice that would prevent most of our unhappy tickets, and almost nobody knows it.
The adhesive on a fabric decal is at its best when it is fresh. Decals that sit in a cupboard for six months, or come off one wall and go onto another, do not behave the same way. Our inbox is full of variations on "I have recently moved 4 monster trucks on the wall to a different spot and now they just keep falling off", and the one that actually stings.
My little one was so excited to finally have his monster trucks on his bedroom wall and is quite upset that they aren't staying up.
Support ticket
So order when you are ready to put them up, not months ahead. Store them flat, on their backing paper, somewhere cool and dry. Never rolled in a hot car or a garage over summer.
What you need
- A damp cloth and an hour of drying time
- A pencil and a tape measure
- Low-tack painter's tape
- A plastic smoother, an old credit card wrapped in a tea towel, or a clean cloth
- A second person for anything over about 1.5m. Our own review says it plainly: "We have the extra large size. You definitely need two people for a job."
Step by step
1. Lay everything out on the floor first. Arrange the full set on the floor in front of the wall, in the layout you want. This is the single best thing you can do and it costs nothing. You will change your mind twice, and that is much easier on carpet than on a wall.
2. Mark the anchor piece. Pick the biggest piece, the tree or the arch or the truck, and pencil two light marks on the wall for its top and one side edge. Everything else hangs off that.
3. Tape it up before you stick it. Hold the piece against the wall with painter's tape along the top edge only, like a hinge. Step back to the doorway and look. Take a photo on your phone, because a photo shows you things your eye will not.
4. Peel from the top, a third at a time. With the tape hinge still holding the top, fold the piece up, peel the backing away from the top third, fold it back down and smooth. Then the middle third. Then the bottom. Never peel the whole backing off at once, which is how you get a decal stuck to itself.
5. Smooth from the centre outwards. Always centre to edges, never edge to centre. Edge-first traps air in the middle with nowhere to go. Use the flat of a plastic smoother, moderate pressure, in overlapping strokes.
6. Press the edges last. Go around the whole outline with your thumb, firmly. Edges are where lifting starts.
7. Check it in raking light. Turn the room lights off and hold a lamp or your phone torch flat against the wall so the light rakes across the surface. Every bubble and ridge shows up instantly. Fix them now, while the adhesive is fresh.


Fixing bubbles
Small bubbles, under a 5c piece. Push them to the nearest edge with a smoother. Work in small strokes. Do not try to move a bubble across the whole piece in one go.
Bubbles that will not move. Prick the bubble once with a pin at its lowest point, a single hole rather than a slit, then press the air out towards it.
A bubble that keeps coming back in the same spot. That is not trapped air, that is the wall. Something underneath is not flat: a nail-hole filler, a patch of texture, a bit of grit. One customer described exactly this, bubbles that "keep appearing in the same spots within 1hr." Lift that section carefully, feel the wall with your fingertips, and deal with the high point.
A whole edge lifting. Usually dust, sometimes a chalky paint surface. Lift the edge back gently, wipe that strip of wall with a barely damp cloth, let it dry fully, re-smooth.

Why our decals behave differently to a sticker
Ours are printed on fabric, not PVC vinyl. That matters for this job in three practical ways.
- They are thicker, so they do not crease or tear as easily while you are handling them. Customers describe them as "like a thick canvas material", and one who was nervous about the thin branches found "they were actually so strong."
- There is no sheen, so once they are flat they read as part of the wall rather than as something stuck on it. That is the effect people mean when they say, as one family did, "so many compliments from family asking if they were hand painted!"
- They reposition while you are working, which is why the fold-and-peel method above works.
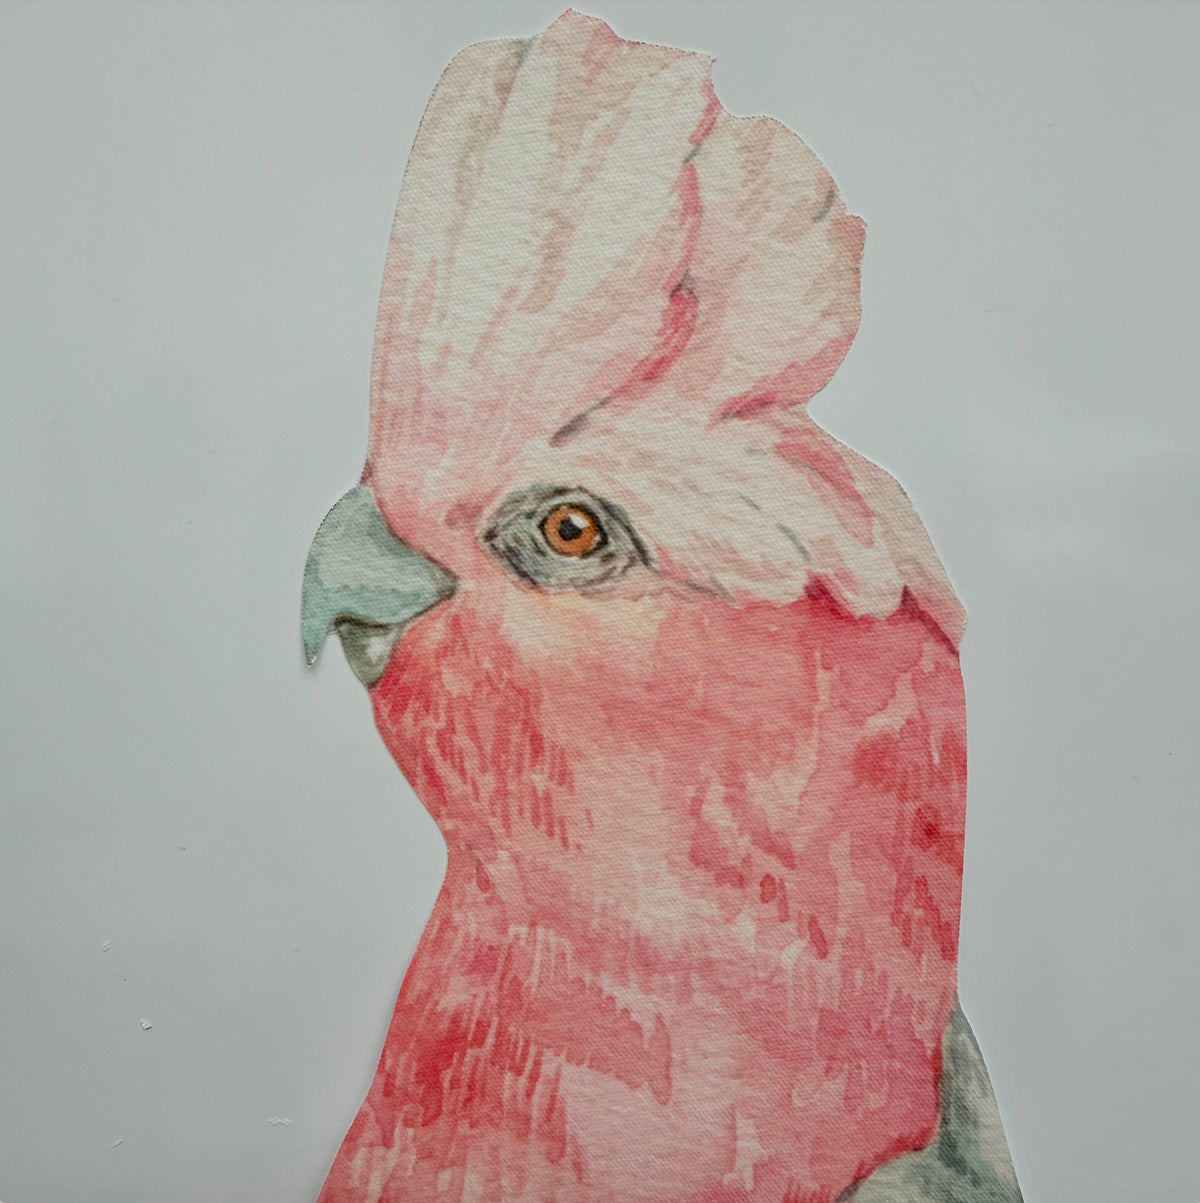

The artwork is drawn by our in-house artist and printed in Melbourne. Browse the gum tree range, or read our guide to decorating a nursery if you are still deciding.
Frequently asked questions
How do you get bubbles out of a wall decal?
Push small bubbles towards the nearest edge with a plastic smoother, working centre-outwards. For a stubborn bubble, prick it once with a pin at the lowest point and press the air towards the hole. A bubble that reappears in the same place is a bump in the wall underneath, not trapped air.
Can you reposition a wall decal?
While you are applying it, yes. That is why you peel the backing a third at a time. Moving a decal to a different wall or a different spot weeks or months later is a different matter, and it often will not hold. Plan the layout on the floor before anything goes on the wall.
How long should I wait after painting before applying decals?
At least four weeks. Paint that feels dry is still curing, and decals applied to uncured paint are the most common cause of both lifting and paint damage.
What kind of wall works best?
Smooth, clean, fully cured paint in a low-sheen or satin finish. Textured walls and flat or matte paint are the two hardest surfaces. Flat paint is chalky by design and nothing bonds to it well.
Do I need two people?
For anything over about 1.5m, yes. Trees, arches and full-height pieces are much easier with someone holding the bottom while you align the top.
Why do the edges of my decal keep lifting?
Almost always dust on the wall, or a chalky paint surface. Lift the edge back gently, wipe that strip with a barely damp cloth, let it dry fully, then re-smooth and press the edge firmly with your thumb.
Can I apply wall decals to a textured wall?
You can try, but expect a shorter life. The decal only touches the high points of the texture. Smaller pieces cope better than large ones. Test one small piece first and see how it sits after 48 hours.
Can I take them with me when I move?
Treat them as being for one wall. We do not promise a decal will re-stick after it has been removed and stored, and our own support inbox says it often does not. If you are moving and want the same look in the new room, start fresh.


