

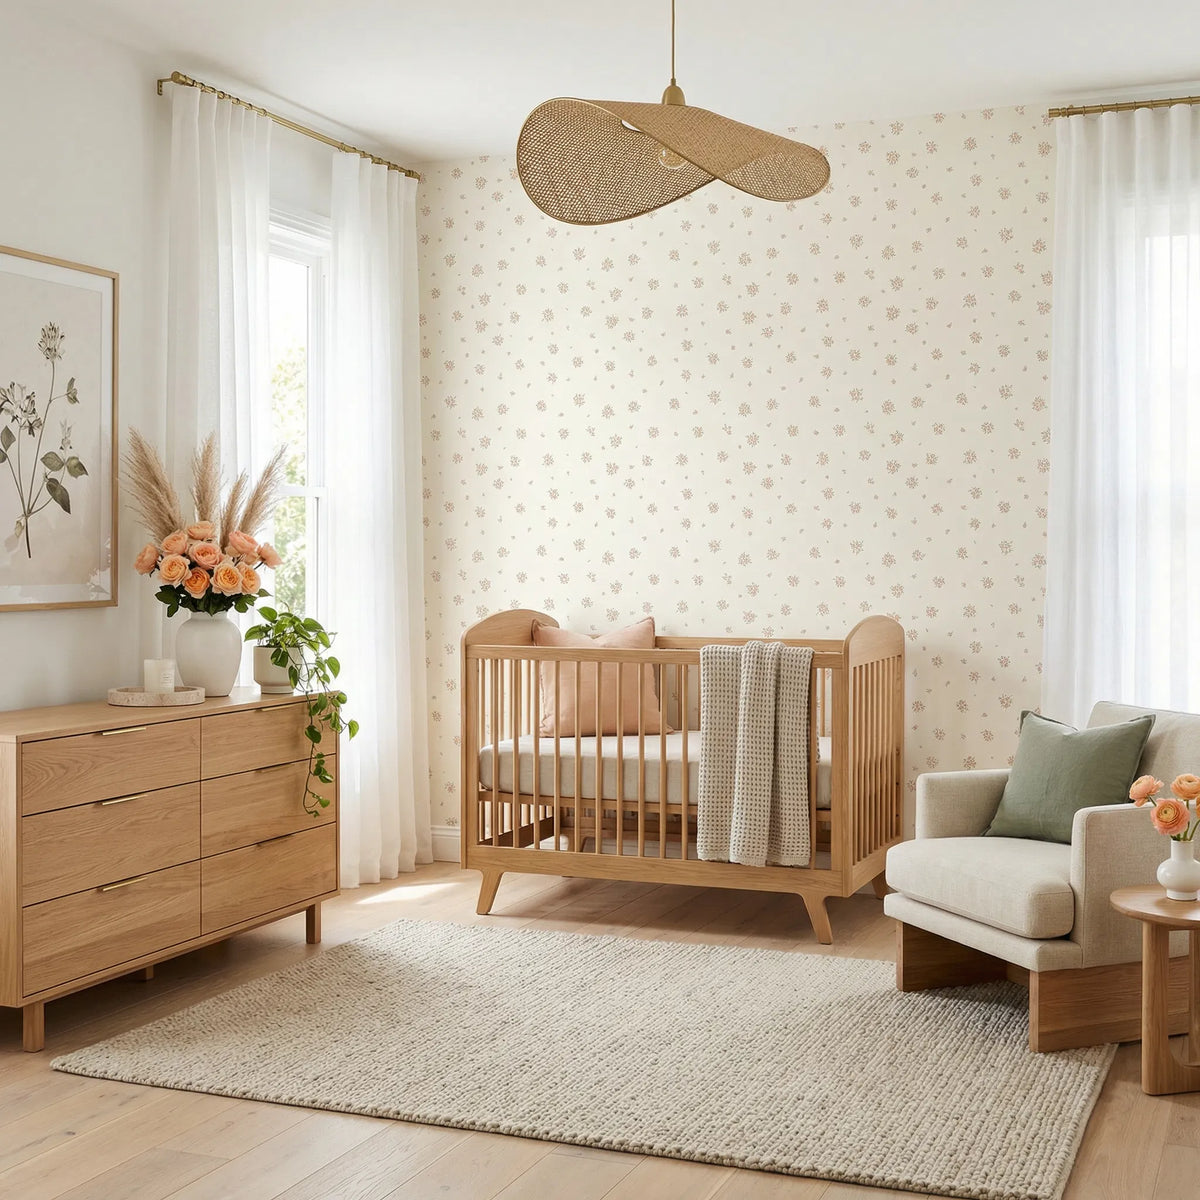
The short answer. Peel-and-stick wallpaper works well on smooth, fully cured, low-sheen painted walls. It performs badly on textured walls and on flat or matte paint, which is chalky by design. Test a sample on your own wall for 48 hours before you order a room. Budget four to six hours and a second person for a nursery feature wall.
Search for peel and stick wallpaper and you will find two kinds of posts: beautiful finished rooms, and people who are furious.
A professional installer wrote a thread titled "Peel and Stick Wallpaper, Never Again!" after six hours on a single accent wall. Someone else, with 82 upvotes: "it's almost impossible to get it hung right... in less than a year you will see seams." And the one that should stop any pregnant person mid-scroll, a woodland nursery where "within a few weeks it had peeled off the wall and we are left with a very stark white room."
We sell peel-and-stick wallpaper. We would still rather you read this first, because most of those failures are predictable, and one of them is a wall you should never have papered.

1. Your wall type decides this, not the wallpaper
The single biggest cause of failure, in the industry's own words and in every angry thread, is the surface.
- Freshly painted, smooth, cured walls in a low-sheen or satin finish. The best case. Let new paint cure for at least four weeks before anything goes on it.
- Textured walls. The most common complaint in the category. "Peel and stick absolutely will not stick to any texture, which, like who has perfectly smooth walls???" If you can feel the texture with your palm, it will not sit flat.
- Flat or matte paint. High risk. "Don't use it on flat paint, it'll take the paint with it." Flat paint is chalky by design, so the adhesive bonds to the chalk layer rather than the wall.
- Old, chalky, or painted over grease. Do not.
This is not a Tiny Walls limitation. It is physics, and every peel-and-stick brand is subject to it. We would rather tell you now than process the return.
2. Test a piece before you order the room
This is the step that separates the happy installs from the horror stories, and it costs almost nothing.
Order a sample, stick it somewhere low-visibility, behind the door, inside the wardrobe, or the wall behind where the cot will go, and leave it 48 hours. Then pull it off slowly and look at both the wall and the back of the sample.
You are checking three things: did it hold, did it lift paint, did it leave a mark. Renters already do exactly this by instinct. Everyone should.
One customer's partner summed up the whole reason this step exists: "DH has been worried it won't come off without some damage." A sample answers that question about your wall, which is the only wall that matters. No brand's claim can.
Samples also answer the other thing people get wrong, which is colour. One customer told us: "I've ordered a sample of the Hattie wallpaper and noticed when I received it that its background is white, while on the website it looks different." Screens lie. Fabric in your own room's light does not.


3. Yes, you can see the seam
The most-asked question in our inbox, and the one competitors dodge.
Our panels overlap by about 1cm so the pattern lines up. That overlap creates a faint vertical line at each join. One customer put the doubt perfectly.
With normal wallpaper the edges are butted up. To overlap them would create bulk and look very unprofessional. I would appreciate seeing some close up photos, to put my doubts to rest.
Customer enquiry
She was right to ask. There are two ways to handle it.
- Overlap. Simplest and fastest. The join is visible if you are looking for it from about a metre away.
- Double-cut. Line up the overlap, cut through both layers with a sharp blade against a straight edge, peel away the two offcuts, and press the edges together for a butt join that all but disappears. This is what professional installers do. It takes longer and you need a fresh blade.
A vertical stripe hides seams best. A large-scale mural shows them most.

4. Budget four to six hours and a second person
The six-hour accent wall in that angry thread was not a lie. It was a first-timer working alone on a textured wall. On a smooth, well-prepped wall, a nursery feature wall is a comfortable afternoon with two people.
An Australian customer on a forum, honestly: "Each sheet I reckon took 4 or 5 goes. Love the final look." That is the real experience. The adhesive repositions while you work, which is the whole point. You lift, realign, smooth, repeat.
What makes it faster:
- A helper to hold the bottom of the panel while you align the top.
- A plastic smoother rather than your hand.
- Working top-down, smoothing from the centre out to the edges.
- Turning the lights off and using a lamp at a low angle. Bubbles show up instantly in raking light.


5. Measuring is the hard part, so do not do it alone
"Measuring the space is not easy. But we love the design!" That is a five-star review, and it is still telling us something.
Wall height and width sound simple until there is an air-conditioning unit, a protruding pillar, a highline window or a sloped ceiling. We get these questions weekly: "If I have an air con unit on the wall... do I measure around it or...?"
Send us the wall. A photo and your two measurements, and we will tell you exactly how many panels you need and where the obstacles fall. It is free and takes us about ten minutes. It also means you do not end up one panel short on a Sunday afternoon.
The quick version if you would rather do it yourself: measure the widest point of the wall and the tallest point, add 10cm to the height for trimming, divide the width by the panel width, then round up. Always round up.

6. Skip the bathroom
"Do you think the wallpaper will peel when it gets steamy from the shower?" Yes, probably. Repeated steam and adhesive are not friends. Nurseries, bedrooms and living spaces are what this is for.
7. What it costs, versus the alternatives
Wallpaper install labour alone in Australia runs A$80 to A$500 (Airtasker), before you have bought a single roll. A hand-painted mural in Melbourne is A$3,250 to A$5,850 (Book An Artist). One parent in a nursery thread was "quoted $800 for one nursery wall" and went with decals instead.
Our wallpaper is sold by the panel and cut to your wall, so the cost scales with the room rather than with a standard roll you will half-waste. Samples start at A$8.
If a full wall still feels like too much commitment, hand-painted fabric wall decals are the smaller version of the same idea, and they are far more forgiving on a textured wall.
Where to start
- Pick two or three designs. Stripes like Henrietta and Elliot are the most seam-forgiving. Dainty florals like Hattie and Matilda suit a softer room. Darcy works for a big-kid room that needs to grow up.
- Order samples. Test one on the actual wall for 48 hours.
- Send us a photo and your measurements. We will tell you the panel count.
- Book a Saturday and a helper.
That order matters. Most of the disasters in this article happened because someone did step four first.
Designed and printed in Melbourne. Free shipping on orders over A$150.
Frequently asked questions
Does peel and stick wallpaper work in a nursery?
It works well on smooth, fully cured, low-sheen painted walls. It performs poorly on textured walls and on flat or matte paint, which is chalky and can lift. Test a sample on your own wall for 48 hours before committing to a room.
Will removable wallpaper pull the paint off my wall?
It can, on some walls. This is true of the whole peel-and-stick category, not one brand. Old, flat, matte or chalky paint is the highest-risk surface. Freshly cured low-sheen paint is the lowest. The only way to know about your wall is to test a piece.
Can you see the seams?
Yes, if you look. Panels overlap about 1cm so the pattern aligns, which leaves a faint vertical line at each join. Double-cutting the overlap with a sharp blade gives a near-invisible butt join. Vertical stripe patterns hide seams best.
How long does it take to put up?
Budget four to six hours for a nursery feature wall with two people on a well-prepped wall. Working alone, or on a textured wall, takes considerably longer.
How many panels do I need?
Measure the widest and tallest points of the wall, add 10cm to the height, divide the width by the panel width and round up. Or send us a photo and your measurements and we will work it out for you.
Can I put peel and stick wallpaper over textured walls?
We would not. Texture is the most common cause of failure in this category, because the adhesive only touches the high points. If you can feel the texture with your palm, choose wall decals instead, which are far more forgiving.
How do I get bubbles out of peel and stick wallpaper?
Lift the panel back to the bubble and re-smooth from the centre outwards with a plastic smoother. If a bubble keeps returning in the same place, it is a bump in the wall underneath rather than trapped air.
Can I paint over the wall afterwards?
Most people do, once the panels are down and the wall has been cleaned and any residue removed. Check the surface first, and be prepared to patch and sand if anything lifted on removal.


