Australian Gum Tree Branch & Koalas Wall Decals
Australian Gum Tree Branch & Koalas Wall Decals
Premium hand-painted fabric decals that peel, stick, and smooth on in minutes — the easiest way to create a room makeover that the kids will LOVE!
Decal Installation Guide
As of March 1, 2024: We've improved our products to better meet your decorating needs. Our decals are now compatible with both Wash and Wear and Teflon paints, eliminating the need for wall prep with primers.
BEFORE YOU START: Prepare your walls
IMPORTANT: Do not apply wall decals to freshly painted walls. Allow at least 4 weeks for the paint to fully cure and "outgas" before installation to prevent bubbling or the decals falling off. Avoid applying to walls with old, flaky, or improperly applied paint, as this may affect adhesion and durability. Please note: While our products are designed to be removable, there is a risk of paint damage upon removal, especially if the wall surface is not in ideal condition.
-
Prepare your walls:
- Wash your hands thoroughly.
- Wipe down the wall with a damp microfiber cloth to remove dust and debris.
- Ensure the wall is completely dry before starting.
-
Unroll and apply:
- Remove your decals from the box and gently roll out the decal sheet until flat.
- Carefully peel away the decal from the backing.
- Place the decal in your desired location on the wall.
- Smooth it down gently with your hands. If the decal folds onto itself, gently pull it apart.
- Use a felt-tipped squeegee or a microfiber cloth-wrapped credit card to smooth the decal from top to bottom, sweeping out any air pockets.
- Use firm, even pressure to ensure the adhesive is pressed evenly onto the wall. The adhesive is pressure-activated, so be careful not to scratch your print.
-
For larger decals:
- Overlap each piece by approximately 1 cm.
- Align the pattern carefully. If the pattern isn’t lining up from top to bottom, try turning the decal slightly left or right for proper alignment.
- Take your time with this step to ensure a seamless look.
-
Re-stick as needed:
- Feel free to remove and re-stick the decal until you’re happy with the placement.
- Our decals are designed to be moved around, so you can adjust them as needed.
-
Decal features:
- Our decals are opaque, suitable for colored walls or overlapping.
- Before repositioning, clean your hands and walls again to maintain adhesive strength.
-
Storage:
- Roll up the decal backing for future use if you wish to transport them.
Safe Use Guidelines: Ensure decals are securely applied to prevent peeling. Regularly check decals placed near beds or children's sleeping areas to ensure they remain firmly attached and out of easy reach.
Enjoy transforming your space with your beautiful new decals!
Wallpaper Installation Guide
BEFORE YOU START: Prepare your walls
IMPORTANT: Do not apply wallpaper to freshly painted walls. Allow at least 4 weeks for the paint to fully cure and "outgas" before installation to prevent bubbling or the wallpaper falling off. Avoid applying to walls with old, flaky, or improperly applied paint, as this may affect adhesion and durability. Please note: While our products are designed to be removable, there is a risk of paint damage upon removal, especially if the wall surface is not in ideal condition.
Roll out your wallpaper and check that there are no panels missing or faults.
Preparation:
-
Clean the walls:
- Ensure walls are clean and dust-free. Avoid using strong cleaning products.
- Remove any residue that can compromise the adhesive on the wallpaper.
- Wipe the skirting boards.
- Remove picture hooks, tacks, blue tack, and light switch plates.
- Make sure your hands are clean and remove any jewelry that may damage the print.
-
Unroll the panels:
- Each panel is numbered. Start with panel #1 on the left.
- Lay the first panel design-side down on a clean, flat surface.
- Peel the top edge back 20 cm onto itself and fold the backing paper to keep it out of the way.
Installation:
-
Hang the first panel:
- Use a step ladder to position the first panel with a 5 cm overhang at the top and left side.
- For precise alignment, use a laser level and draw a line 55 cm from the right of the wall to ensure the first panel is straight.
- Let the panel fall naturally. If you’re not happy with the placement, peel it off and reapply.
-
Smooth the wallpaper:
- Use a felt-tipped squeegee or a microfiber cloth-wrapped credit card to smooth the wallpaper from top to bottom, sweeping out any air pockets.
- Use firm, even pressure to ensure the adhesive is pressed evenly onto the wall. The adhesive is pressure activated, be careful not to scratch your print.
- Work slowly, peeling down the backing sheet in 30 cm increments while smoothing the wallpaper onto the wall to avoid air bubbles.
Dealing with Wrinkles and Bubbles:
- Large bubbles: Smooth them out, but if trapped, peel back the panel to release air.
- Stubborn bubbles: Use a thin pin to pop and smooth down. Bubbles can occur from trapped air, over-pulling the panels, using strong cleaning chemicals, or applying over fresh paint that hasn’t fully outgassed.
Matching the Design and Installing the Remaining Panels:
- Repeat the above installation instructions for the remaining panels.
- Each panel overlaps the previous one by approximately 2 cm. Line up the pattern along the overlapping join and stick it to the wall enough to hold it flat. Smooth it completely once the entire join is matched.
- For intricate patterns, use painter’s tape to align the panels before installing. Adjusting the panel angle slightly can help with alignment. Checking that the panels align using painter’s tape before committing to installation can save you from having to remove and reapply.
Trimming:
- Trim excess: Use a sharp Stanley knife to trim the sides and bottom. Carefully trim around power points and replace plates.
Special Areas:
-
Windows and wardrobes:
- Measure the area around the window or wardrobe.
- Cut the wallpaper to fit, leaving a 1 cm overlap.
- Smooth down and trim excess with a Stanley knife.
-
Light switch covers:
- Remove the cover.
- Apply wallpaper and cut an "X" over the switch area.
- Fold back the flaps and reattach the cover.
Repositioning Wallpaper:
- Clean before moving: Clean hands and walls to avoid dust on the adhesive. Reapply to backing paper if moving to a different wall.
- Reattach backing paper: Stick a panel of the backing paper on the wall next to the panel you want to remove – secure it with painter’s tape.
- Peel and stick: Peel the wallpaper panel off the wall and stick it onto the backing paper, lining it up as best as possible. A second pair of hands can help guide the bottom. Push out air bubbles and avoid dust on the adhesive.
- Roll up the panel: Roll up the panel and protect any exposed edges with bubble wrap.
Important Note:
- Clean your hands and walls again before moving the wallpaper to ensure adhesive strength.
Enjoy your newly transformed space with your beautiful wallpaper!
Troubleshooting Tips: READ THIS GUIDE:
- Bubbles: Large bubbles should smooth out. If trapped, peel back the panel to release air. For stubborn bubbles, use a thin pin to pop and smooth down.
- Pattern alignment: If patterns don’t line up, adjust the panel angle slightly. Use painter’s tape to align before final placement.
Safe Use Guidelines: Ensure panels are securely applied to prevent peeling. Regularly check panels placed near beds or children's sleeping areas to ensure they remain firmly attached and out of easy reach.
For any questions or additional help, please contact us – we’re here to assist!
Secure checkout. Ships fast from Melbourne!
from Australia
5-Star Reviews
Guarantee
About this design
About this design
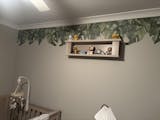
Immerse yourself in the breathtaking beauty of the Australian outback with these striking Gum Tree Branch & Koalas Wall Decals! Bring the vibrant wildlife of Australia into your home and feel the whimsical charm of the countryside! These decals are made with gentle, peel and stick fabric material that is gentle on your walls and can be easily removed without leaving any residue behind.
SIZE INFORMATION
Koalas:
Baby Koala 18cm wide x 22cm high
Mother Koala 26cm wide x 35cm high
Gum tree branch:
Small 1mt wide, Canopy width 37cm
Medium 1.2mt wide, Canopy width 39cm
Why you'll love it
Why you'll love it
- Removable & reusable adhesive – perfect for renters
- Printed on premium polyester fabric (not cheap vinyl)
- Non-toxic, water-based adhesive – safe for kids & walls
- Easy to apply in minutes – no mess, no glue
- Leaves no residue when removed properly - follow our removal guide
Decal FAQs
Decal FAQs
What makes Tiny Walls decals different?
Every design starts as a hand-painted artwork, created to feel lifelike and calming in your space. We use premium, non-toxic fabric (not vinyl), which gives a soft, painted-on look without the mess. Many of our designs are also intentionally educational — introducing little ones to Australian wildlife, nature, and more through beautiful visual storytelling. Plus, they're blockout material, so they show up perfectly even on coloured walls.
Are they safe for kids and pets?
Yes. Our decals use a water-based, non-toxic adhesive that’s safe for curious kids and furry friends.
Can I use them in a rental home?
Definitely. Tiny Walls decals are designed to be renter-friendly. They go on easily, can be repositioned, and remove cleanly without leaving sticky residue behind.
What does rental-friendly actually mean?
It means the decals are removable and non-permanent. The non-permanent adhesive allows you to gently peel them off, even after they’ve been in place for a long time. For best results, follow the tips in our removal guide.
How do I remove them safely?
Wall condition matters, but here’s how to minimise any risk:
- Use a hairdryer on low heat for 30–60 seconds to warm the adhesive
- Peel slowly from one corner, keeping the decal close to the wall
- Reheat stubborn areas as you go
- Avoid installing or removing decals from freshly painted walls — wait at least four weeks
- Always test a small section first. You can read the full guide here.
How long do they last?
They’re designed to last for years, but when you're ready to refresh the space, they’re easy to remove or swap out.
Will they work on all wall types?
They stick best to smooth, clean walls. If your surface is textured, we recommend testing a small sample before applying a full set.
Still have questions?
We’re always happy to help. Reach out to our team here and we’ll get back to you as soon as we can.
Shipping
Shipping
Fast & Reliable Shipping – Australia & Worldwide
We know you're excited to decorate, so we ship quickly and carefully from our warehouse in Victoria, Australia.
Within Australia
- Decal orders ship within 2-3 business days
- Flat rate shipping: $10 for orders under $200
- Free shipping on orders over $200 (AU only)
- Delivered straight to your door – no long waits, no hassle
International Shipping
- Flat rate: $30 per order
- Standard delivery times:
- USA & Canada: 5–9 business days
- UK: 4–7 business days
Customs, Tariffs & Taxes
All orders ship from Australia. Please note:
- Tiny Walls is not responsible for any customs duties, tariffs, or import taxes applied to international orders
- These charges are determined by your local customs agency and are the responsibility of the recipient
We're here to help you transform your space — and we’ll make sure your decals get to you, fast.
How to Apply your Tiny Walls Decals
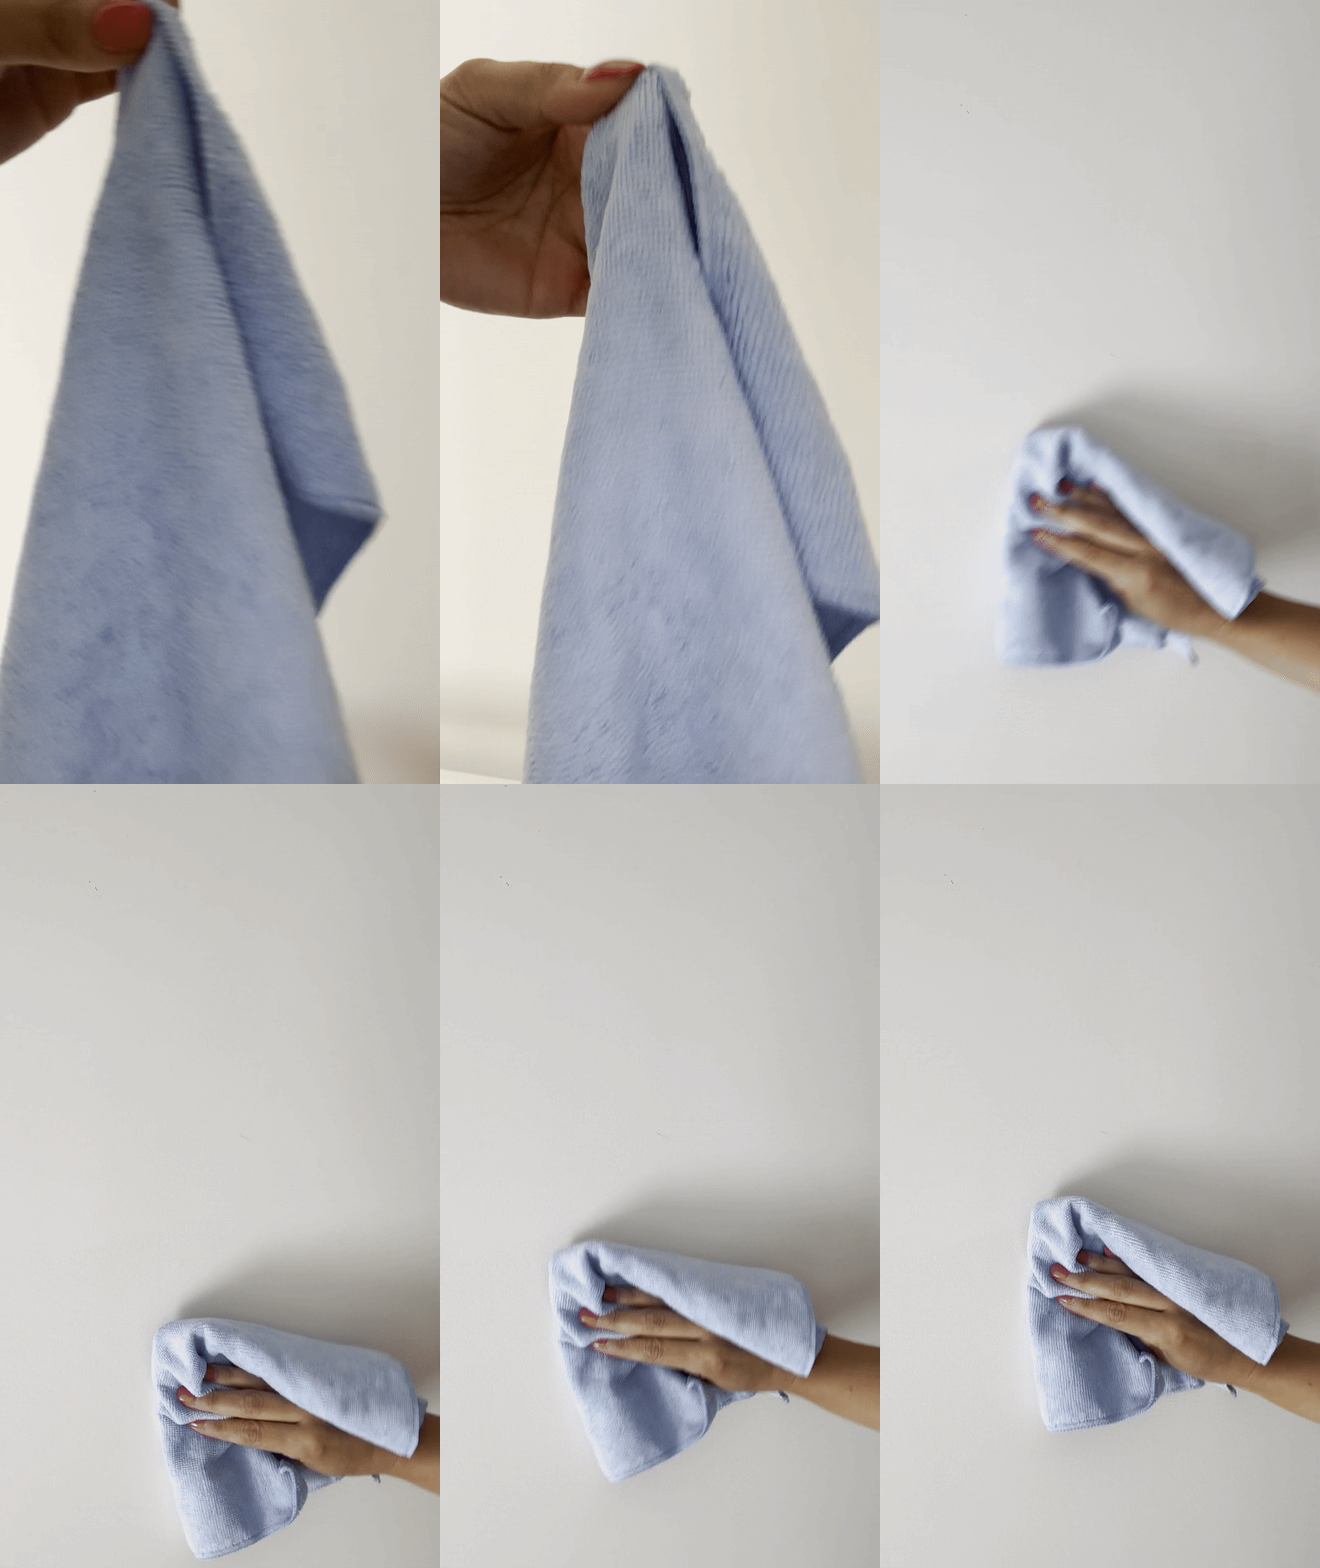
1. Clean your walls
Grab a damp cloth and give the wall a quick clean. Dust-free walls mean better sticking power.
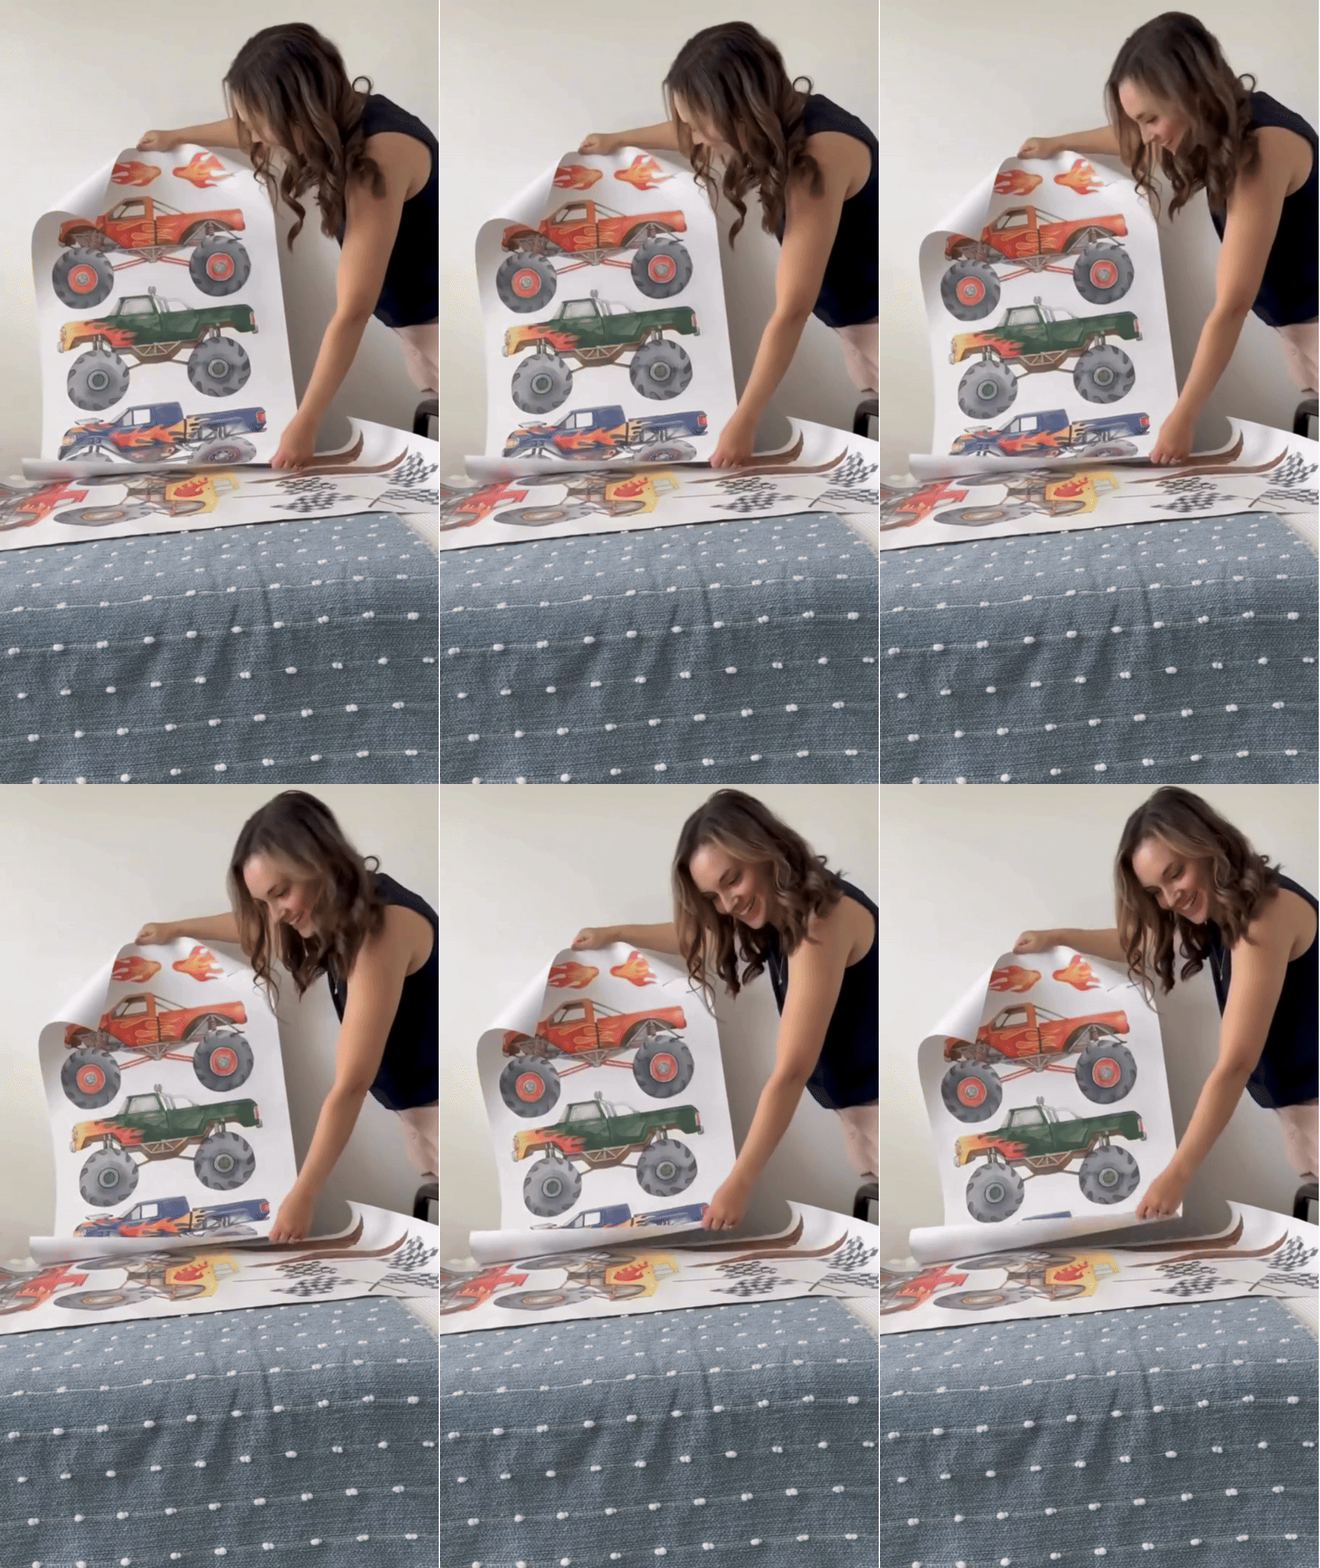
2. Peel & Stick
Gently peel the decal and start from one edge. Stick it down, smooth as you go—this is DIY anyone can do, even during nap time!
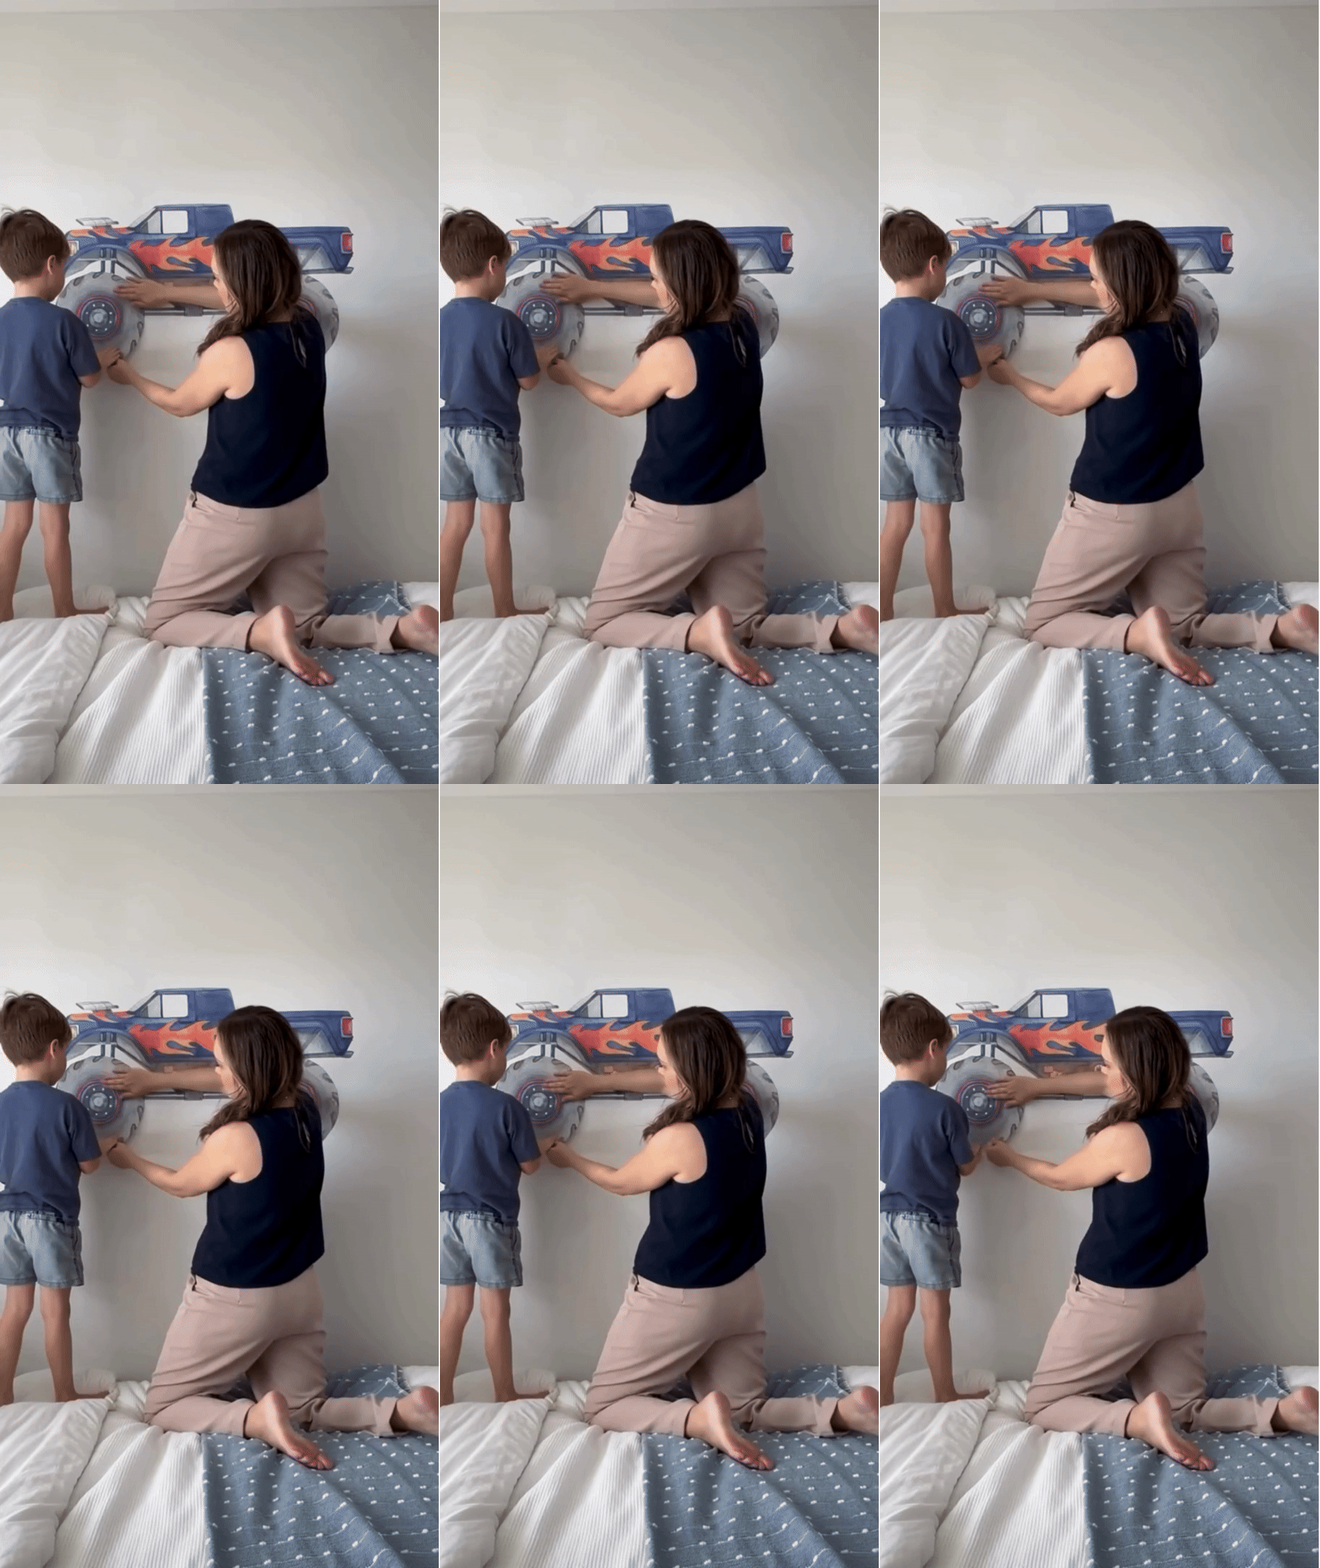
3. Remove & Reapply
Made a mistake? No stress! Our decals are easy to reposition. Tweak it until you love the look. Kids might “help” too!
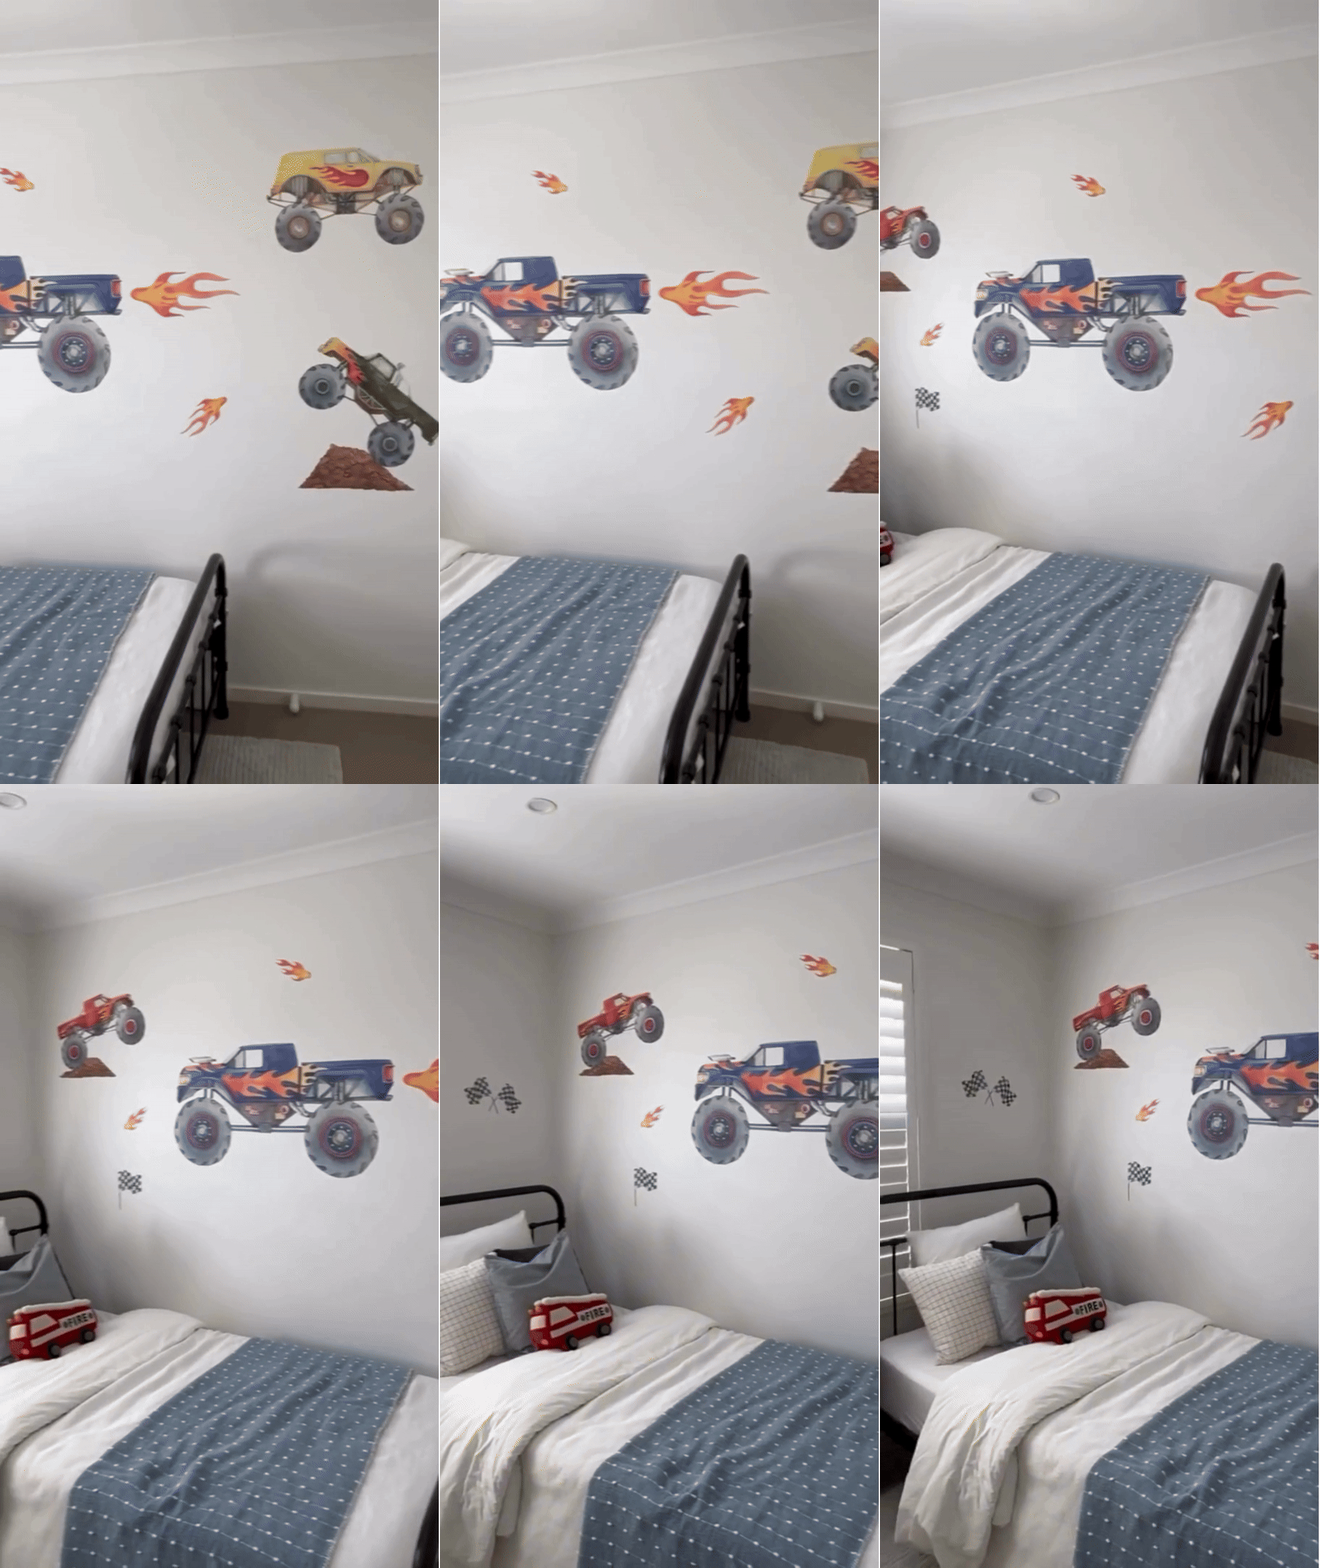
4. Step Back & Wow
You did it! Take a step back, soak in the transformation, and get ready for your kids to say, “Best room ever!” ✨
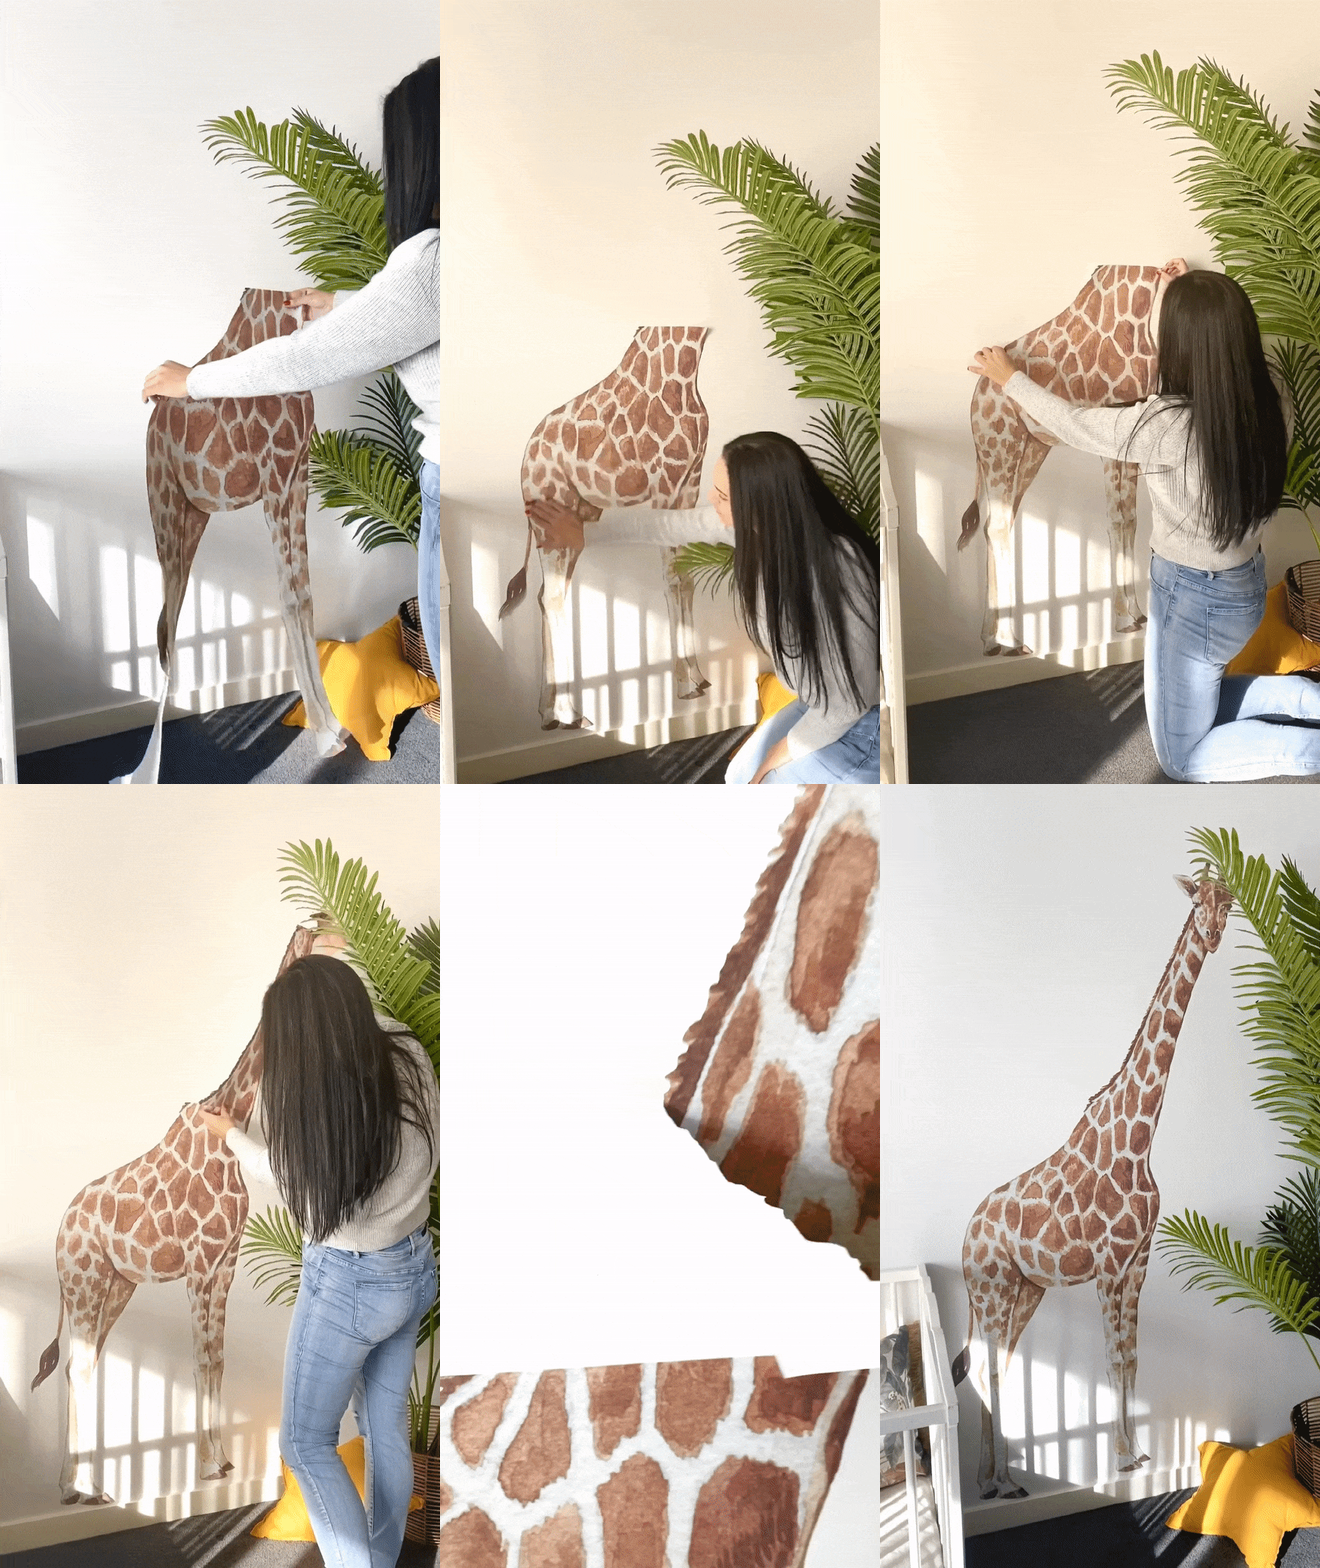
Create the Room They’ll Love (In Minutes)
Our wall decals are the easiest way to give your child’s room a little magic—no paint, no mess, and no hours lost on a DIY project. Just peel, stick, and you’re done. Got five minutes while the kids are distracted? That’s all you need.
When it’s time for a refresh, a quick blast of warm air (like a hairdryer) makes them easy to remove and swap out. No stress, no fuss—just a simple way to keep up with their changing interests (and your limited time).
Beautiful, hand-painted designs bring instant joy to any space. Because decorating should feel fun—not like another task on your to-do list.


