


Mini Sunflower Wall Decals
Mini Sunflower Wall Decals
Most parents want a beautiful room for their child but don’t have the time, budget, or artistic skills to create a mural. And renters can’t risk damaging their walls.
Our hand-painted fabric decals solve all of this. They look like real artwork on your wall, take minutes to install, and can be removed cleanly with gentle heat. No mess, no stress, just a magical room your little one will love.
Product Description + Sizing Info
Mini Sunflower Wall Decal Set
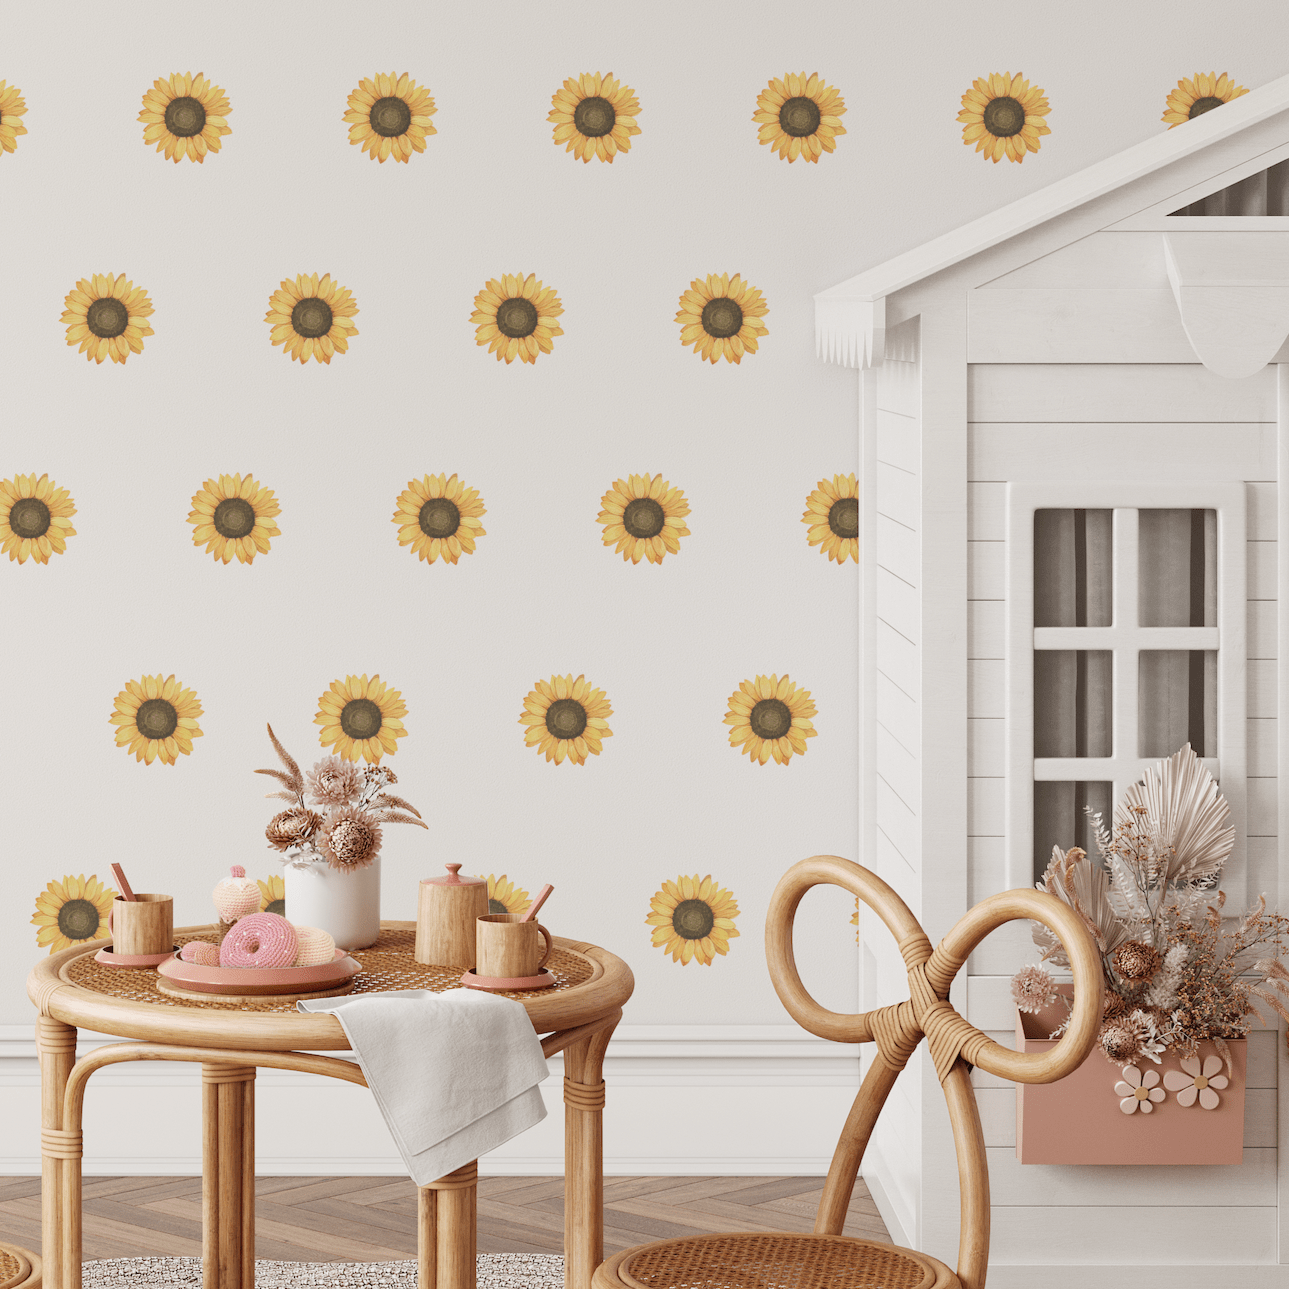
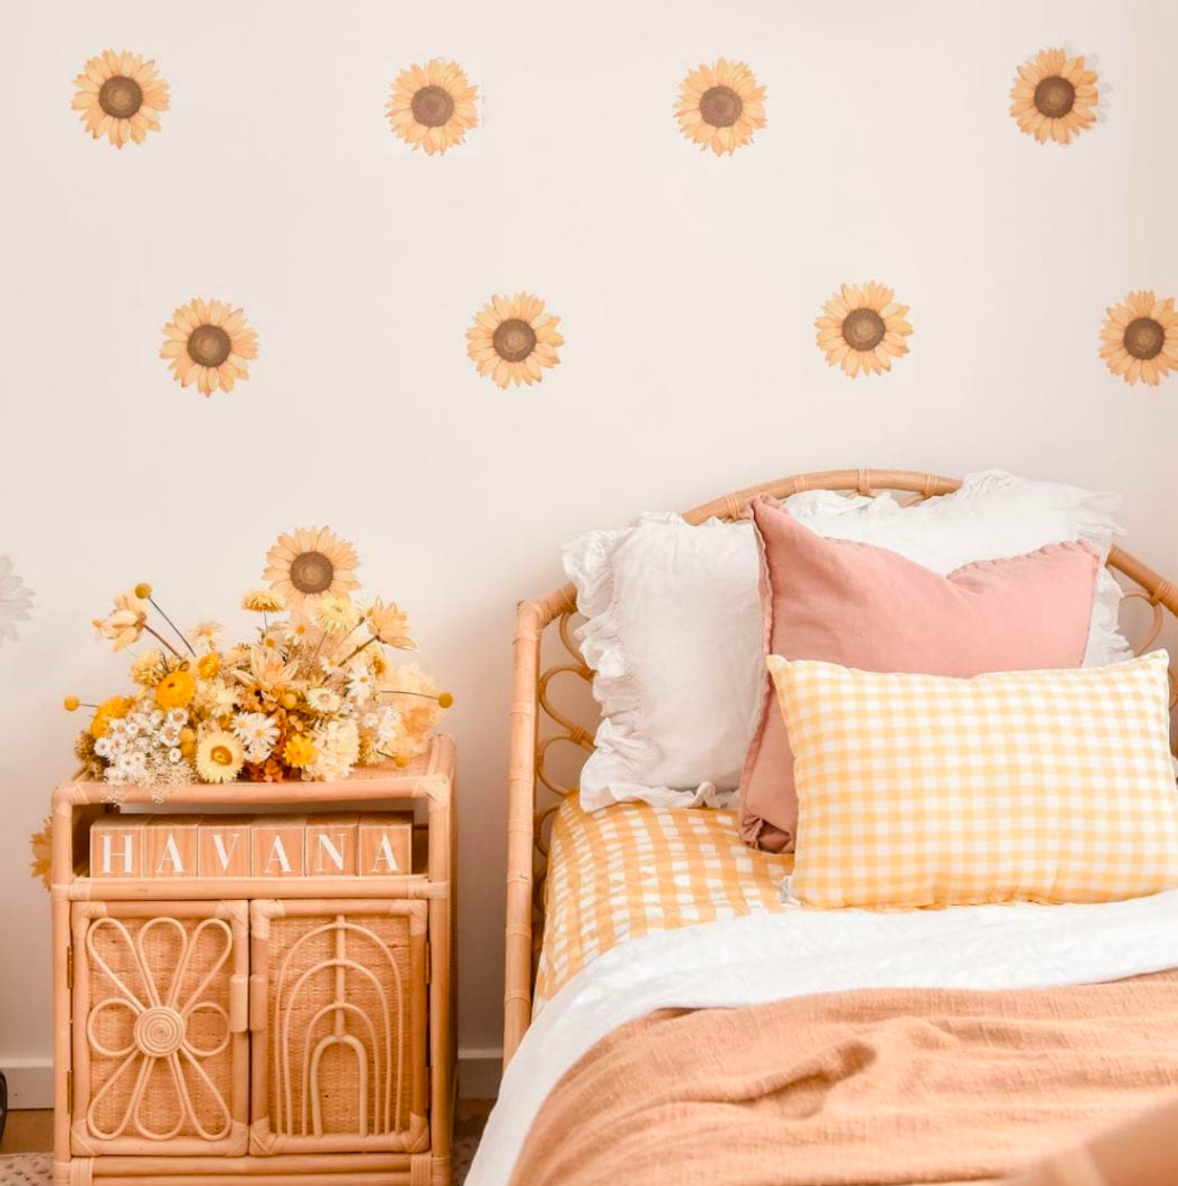
Brighten your child’s space with a soft, joyful burst of sunshine. These delicate sunflowers instantly lift the room — creating a warm, cheerful environment where little minds can flourish.
Whether you're refreshing a nursery or adding charm to a reading nook, this set makes styling effortless. Thoughtfully designed to suit any season or age, these timeless flowers grow with your child — adding beauty, calm, and a little bit of magic to their everyday world.
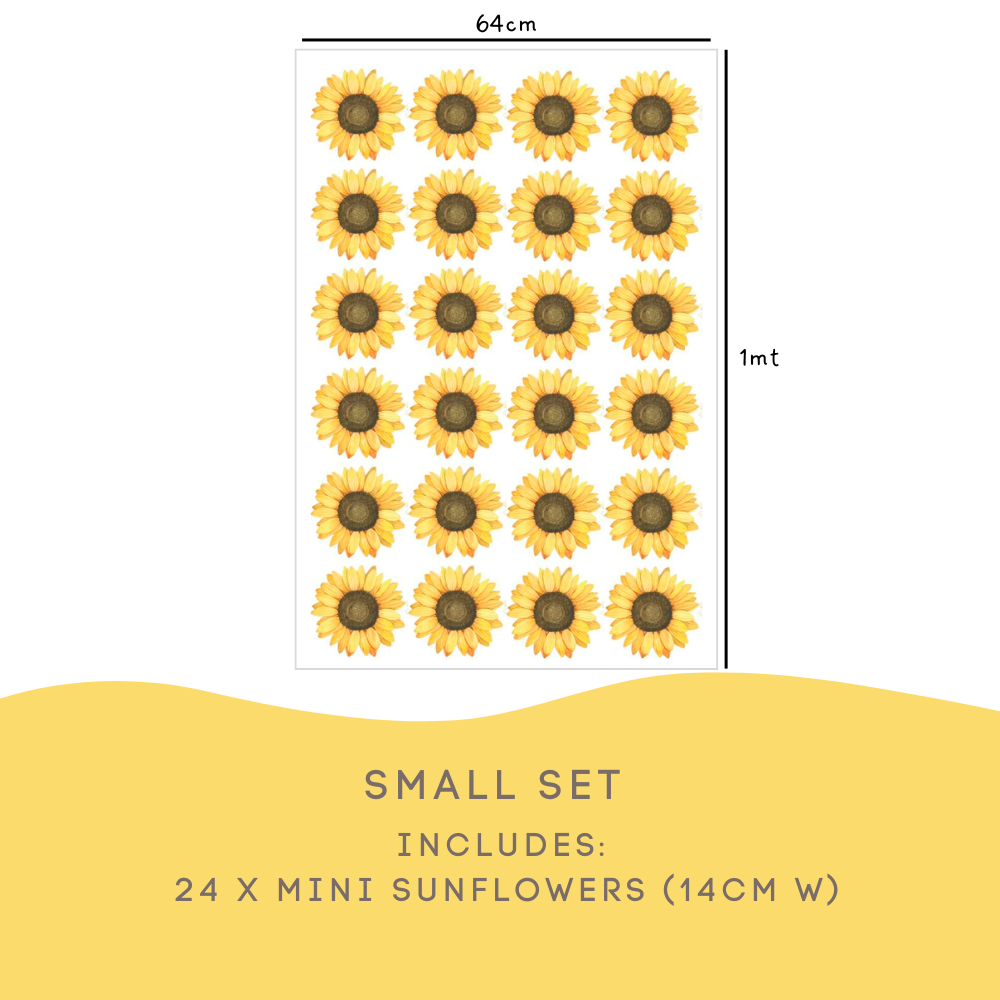
Pack Information:
- Small: 24 × Mini Sunflowers (14 cm wide)
- Medium: 48 × Mini Sunflowers (14 cm wide)
How to Install
Test Sample (included free in every order)
- Choose a spot: Wipe clean with a damp microfiber cloth and let dry.
- Apply the sample: Peel, stick, and smooth down by hand.
- Wait 24–48 hrs: Check adhesion and paint hold.
- Remove with gentle heat: Warm with a hairdryer and peel slowly downwards, flat against the wall.
If the sample works, your decals will too. Fresh paint (30+ days), textured/porous walls, or poor prep may affect results.
Quick Install Guide
- Start with clean, dry, smooth walls and fully cured paint (30+ days after painting).
- Peel the decal from the backing.
- Position and smooth firmly with your hands or a soft squeegee.
- For larger pieces, cut and apply individually for easier alignment.
Most installs take just minutes.
Removal
- Warm with a hairdryer and peel slowly downwards, flat against the wall (not outwards).
Removal Guide
Warm a hairdryer on low heat over the decal for 30–60 seconds, then peel slowly from a corner in a downwards direction, keeping the decal as close to the wall as possible, Don't pull outwards from the wall. Heat again if needed.
Materials & Wall Types
Our decals are printed on premium, non-toxic polyester fabric with a soft matte finish — never vinyl. They use a removable, water-based adhesive so you can reposition during install and peel away when you’re ready for a change.
Best on: Smooth, fully cured painted walls finished with quality primer and acrylic paint.
Not suitable for: Textured walls, raw plaster, brick, bathrooms, or high-humidity areas.
Tip: For freshly painted walls, wait at least 30 days before applying. Avoid chalky, powdery, or flaking surfaces.


