The Complete
Wallpaper How-To Hub
Every question answered. Every objection addressed. Step-by-step guides, honest advice, and real techniques — so you can install with confidence.
Is My Wall Suitable?
This is the most important question — and the one most guides skip. Not all walls are equal. Here's exactly how to assess yours before you order a single panel.
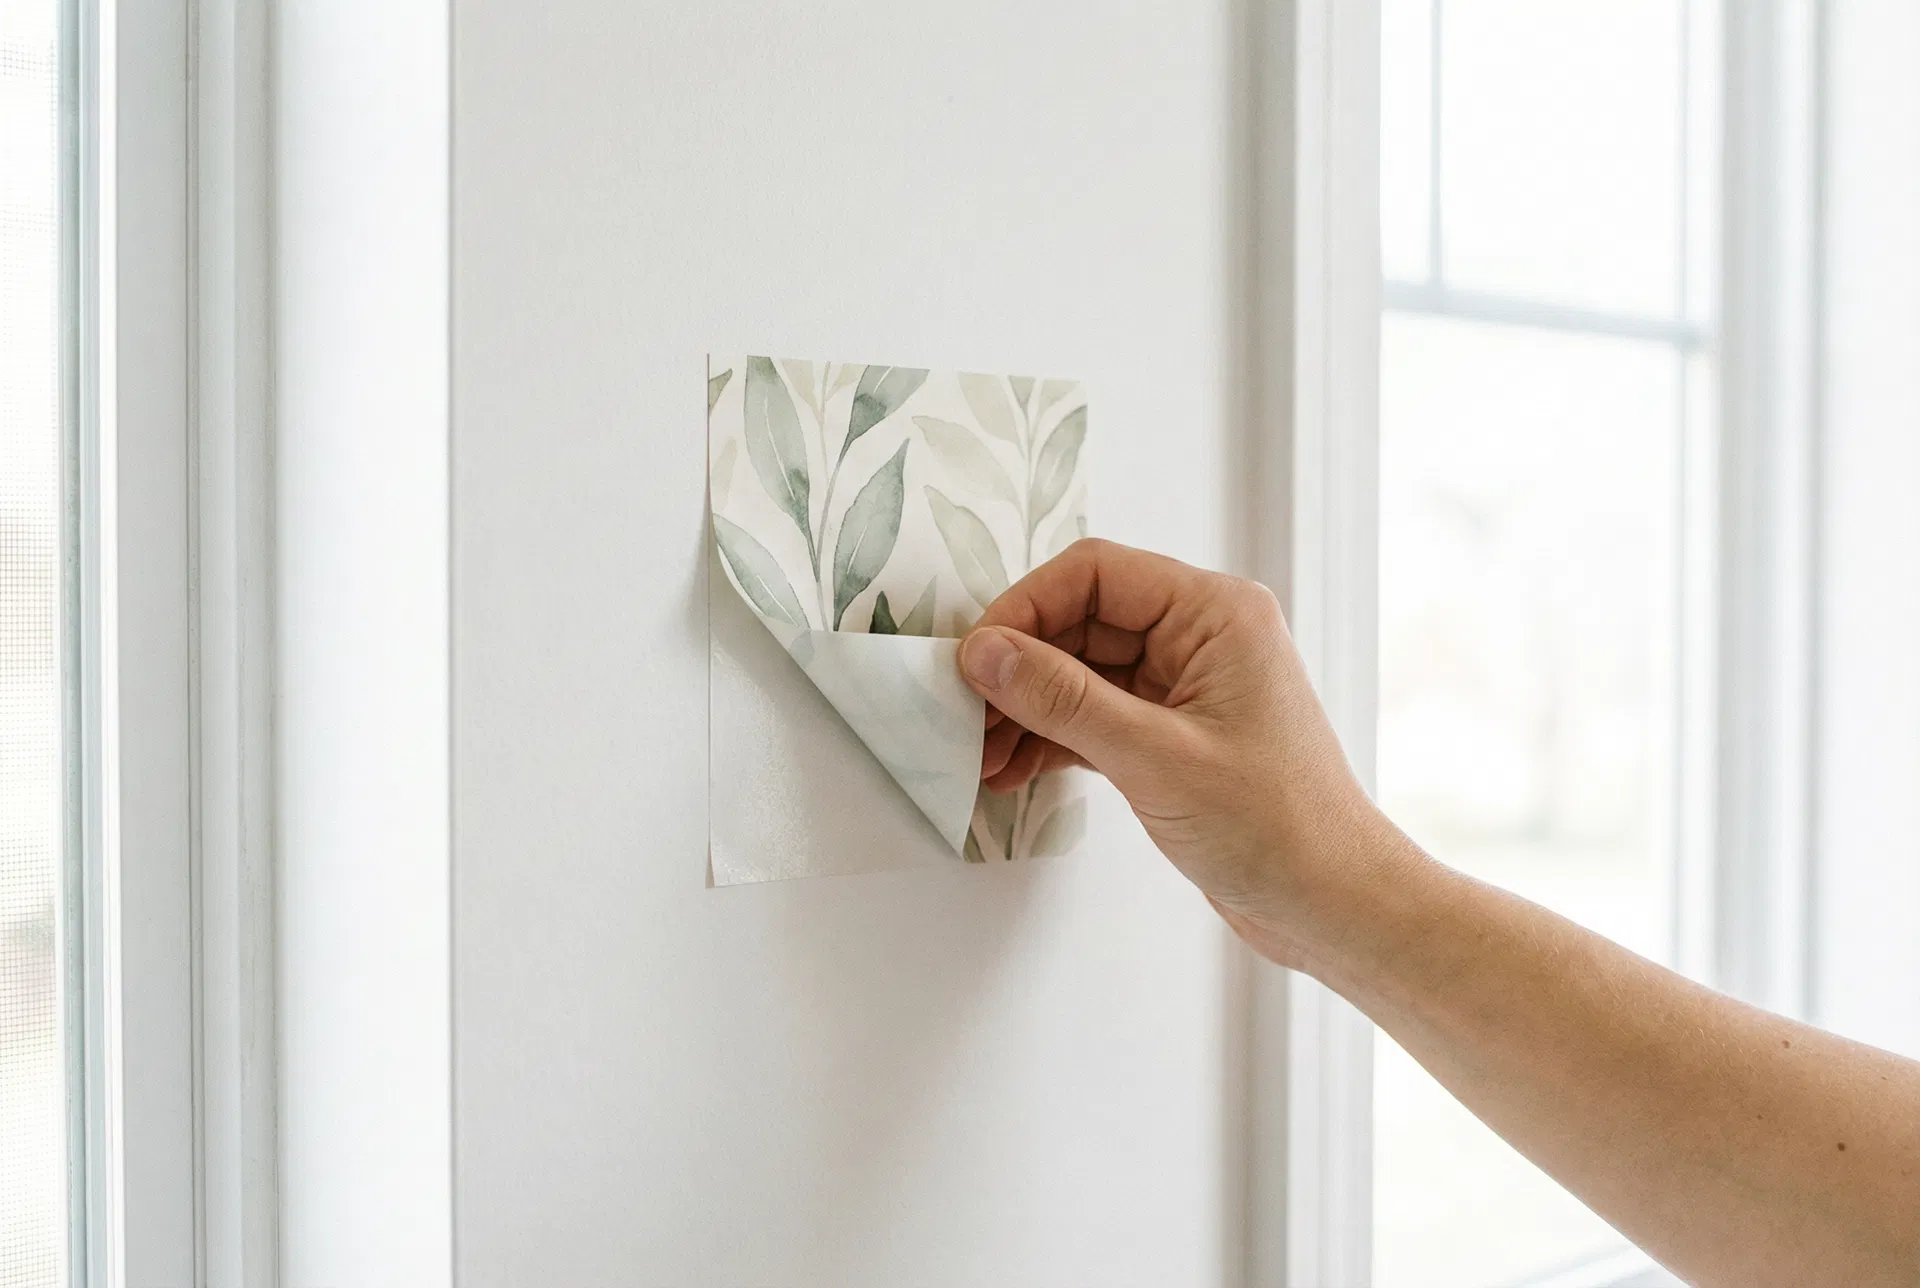
The $8 Test That Answers Everything
No matter how good your walls look, the only way to know for certain is to apply a sample and leave it for 48–72 hours. This tests both adhesion (will it stay up?) and removability (will it come off cleanly?).
Order a sample, apply it to your target wall, leave it for 3 days, then remove it using a hairdryer on low heat. If the paint comes with it — your wall has an adhesion problem that exists independently of the wallpaper. If it peels cleanly — you're good to go.
Order a Sample — $8 →The Wall Suitability Guide
Use this to quickly assess your walls before ordering.
Ideal Walls
- Smooth, flat interior walls
- Satin or semi-gloss paint finish
- Paint cured for 4+ weeks
- Clean, dust-free surface
- No recent repainting
- Low-humidity rooms (bedroom, living, nursery)
Proceed with Caution
- Rental property walls
- Freshly repainted walls (under 6 weeks)
- Matte or flat paint finishes
- Walls repainted without sanding
- Wash & Wear / Easy Clean paints
- Older homes with multiple paint layers
Avoid These
- Textured or rendered walls
- Bathroom or laundry walls
- Walls with active moisture or damp
- Brick, concrete, or stone
- Wallpaper over existing wallpaper
- Walls with peeling or flaking paint
The Wash & Wear Paint Problem
Many Australian rental properties and new builds use Dulux Wash & Wear, Taubmans Endure, or similar "Easy Clean" paints. These contain a micro-repellent coating that actively resists adhesion — meaning wallpaper may not bond properly and can lift prematurely. Always test with a sample on these surfaces before ordering.
Will It Damage My Walls?
This is the #1 fear — and it deserves an honest answer, not marketing spin. Here's the real truth about when and why paint damage happens.
The Honest Truth
On properly prepared, fully cured walls, our wallpaper is designed to remove cleanly. The vast majority of our customers — including thousands of renters — remove it without any paint damage.
When paint does lift, it is almost never the wallpaper's fault. It is almost always a pre-existing paint adhesion failure — paint that was applied to a wall that wasn't properly prepared. The wallpaper adhesive simply bonded more strongly than the paint did to the wall beneath it.
Why Rental Walls Are Higher Risk
This is something almost no wallpaper brand talks about honestly — but it's critical for Australian renters to understand.
The Layered Paint Problem in Rental Properties
When a rental property is repainted between tenants, the painter almost never sands the walls back first. They simply apply one or two coats of paint directly over the existing surface — just enough to make it look fresh. Without sanding, priming, and proper surface preparation, the new paint layer doesn't fully bond to the wall. It's essentially sitting on top of the old paint rather than being part of it. When anything — including wallpaper, painter's tape, or even a doorstop — applies force to that surface, the weakly bonded top layer can lift away. This is a pre-existing wall defect, not a product fault.
How to Check Your Walls Before Installing
You can't see layered paint failure by looking at a wall — but you can test for it in four ways, from free to most thorough:
-
The Tape Test (Free, 5 minutes)
Press a strip of standard masking tape firmly onto your wall, leave it for 60 seconds, then pull it off quickly at a 90-degree angle. If paint comes with it, your wall has adhesion issues. If it comes off clean, that's a good sign — but not a guarantee, as wallpaper adhesive is stronger than masking tape.
-
The Sample Test ($8, 72 hours) — Most Reliable
Apply a wallpaper sample to your target wall and leave it for 72 hours. Remove it using a hairdryer on low heat, peeling at a very low angle. This is the definitive test because it replicates exactly what will happen with a full installation. If paint lifts on the sample — it will lift on the full wall too.
-
Visual and Tactile Check
Run your hand firmly across the wall. Any areas that feel slightly soft, chalky, or hollow-sounding when tapped may indicate poorly bonded paint. Look for hairline cracks, bubbling, or any areas where paint appears to be separating from the surface.
-
Ask Your Property Manager
Ask when the walls were last painted and what paint was used. If they were painted within the last 6 weeks, or if a Wash & Wear or Easy Clean paint was used, treat the walls as high-risk and test with a sample before ordering.
If Your Walls Fail the Test
Don't give up — you have options. Request a repaint from your property manager (they may agree if the paint is genuinely in poor condition). Apply a bonding primer first to stabilise the surface. Choose a different wall in the same room. Or consider our wall decals instead, which use a lighter adhesive and are lower-risk on compromised surfaces.
Bubbles, Lifting Edges & Adhesion Failures
"The bubbles kept coming back." This is one of the most common complaints about peel and stick wallpaper — and almost always preventable with the right prep.
Why Bubbles Happen
Bubbles are caused by air trapped between the wallpaper and the wall during installation. They almost always result from one of three things: dust or residue on the wall preventing full contact, applying the panel too quickly without smoothing as you go, or pulling the panel off and reapplying too many times (which reduces adhesive strength).
Small bubbles that appear immediately after installation often disappear on their own within 24–48 hours as the adhesive settles. Larger bubbles that persist need to be addressed.
The 5-Minute Prep Routine That Prevents 90% of Failures

-
Wipe the wall with a damp microfibre cloth
Remove all dust, grease, and residue. Even walls that look clean have a layer of airborne dust that will prevent proper adhesion. Pay extra attention to corners and edges.
-
Let the wall dry completely
Wait at least 30 minutes after wiping. Applying wallpaper to a damp surface is one of the most common causes of adhesion failure and edge lifting.
-
Check the room temperature
Install in a room between 15°C and 25°C. Cold walls reduce adhesive performance. Very hot rooms (above 30°C) can cause the adhesive to become too soft during installation.
-
Smooth firmly with a squeegee as you go
Work from the centre outward in firm, overlapping strokes. Don't rush this step — proper smoothing during installation is the single biggest factor in preventing bubbles.
Fixing Problems After Installation
| Problem | Cause | Fix |
|---|---|---|
| Small bubbles (under 5cm) | Trapped air during install | Wait 48 hours — most disappear on their own |
| Large persistent bubbles | Dust or moisture on wall | Carefully lift the panel edge, wipe the wall, reapply and smooth firmly |
| Lifting edges | Temperature fluctuation, humidity, or wall residue | Apply a tiny amount of wallpaper paste or repositionable adhesive to the edge, press firmly and hold for 60 seconds |
| Panel falling off | Unsuitable wall surface or paint type | Test the wall with a sample — the surface may not be compatible. Contact us for advice. |
| Visible seams | Panels not overlapping correctly, or wall not painted same colour | Ensure 2cm overlap on each seam. Paint the wall a similar base colour to reduce seam visibility. |
| Pattern not matching | Panels applied without checking alignment | Panels are numbered — always check the pattern match before pressing firmly. Reposition while the adhesive is still fresh. |
Step-by-Step Installation
Follow these steps in order. The most common installation mistakes happen when people skip steps 1–3 and go straight to applying panels.
What You'll Need
Spirit level or plumb bob, pencil, microfibre cloth, plastic squeegee or credit card, sharp craft knife and cutting mat, straight edge or ruler, step ladder (for tall walls), and a second pair of hands for large panels.
-
Prep the wall
Wipe the wall with a clean damp microfibre cloth to remove all dust and grease. Allow to dry completely — at least 30 minutes. Do not apply to a damp surface.
-
Mark a true vertical starting line
Walls are almost never perfectly square — if you start from a corner and assume it's vertical, your panels will drift. Use a spirit level to mark a perfectly vertical pencil line where your first panel will sit. This is the most important step for a professional-looking result.
-
Start from the most visible point
Begin at the most visible part of the wall — usually the centre or the corner nearest the door you enter from. Work outward toward the less visible corners. This ensures any trimming at the edges happens in the least noticeable spots.
-
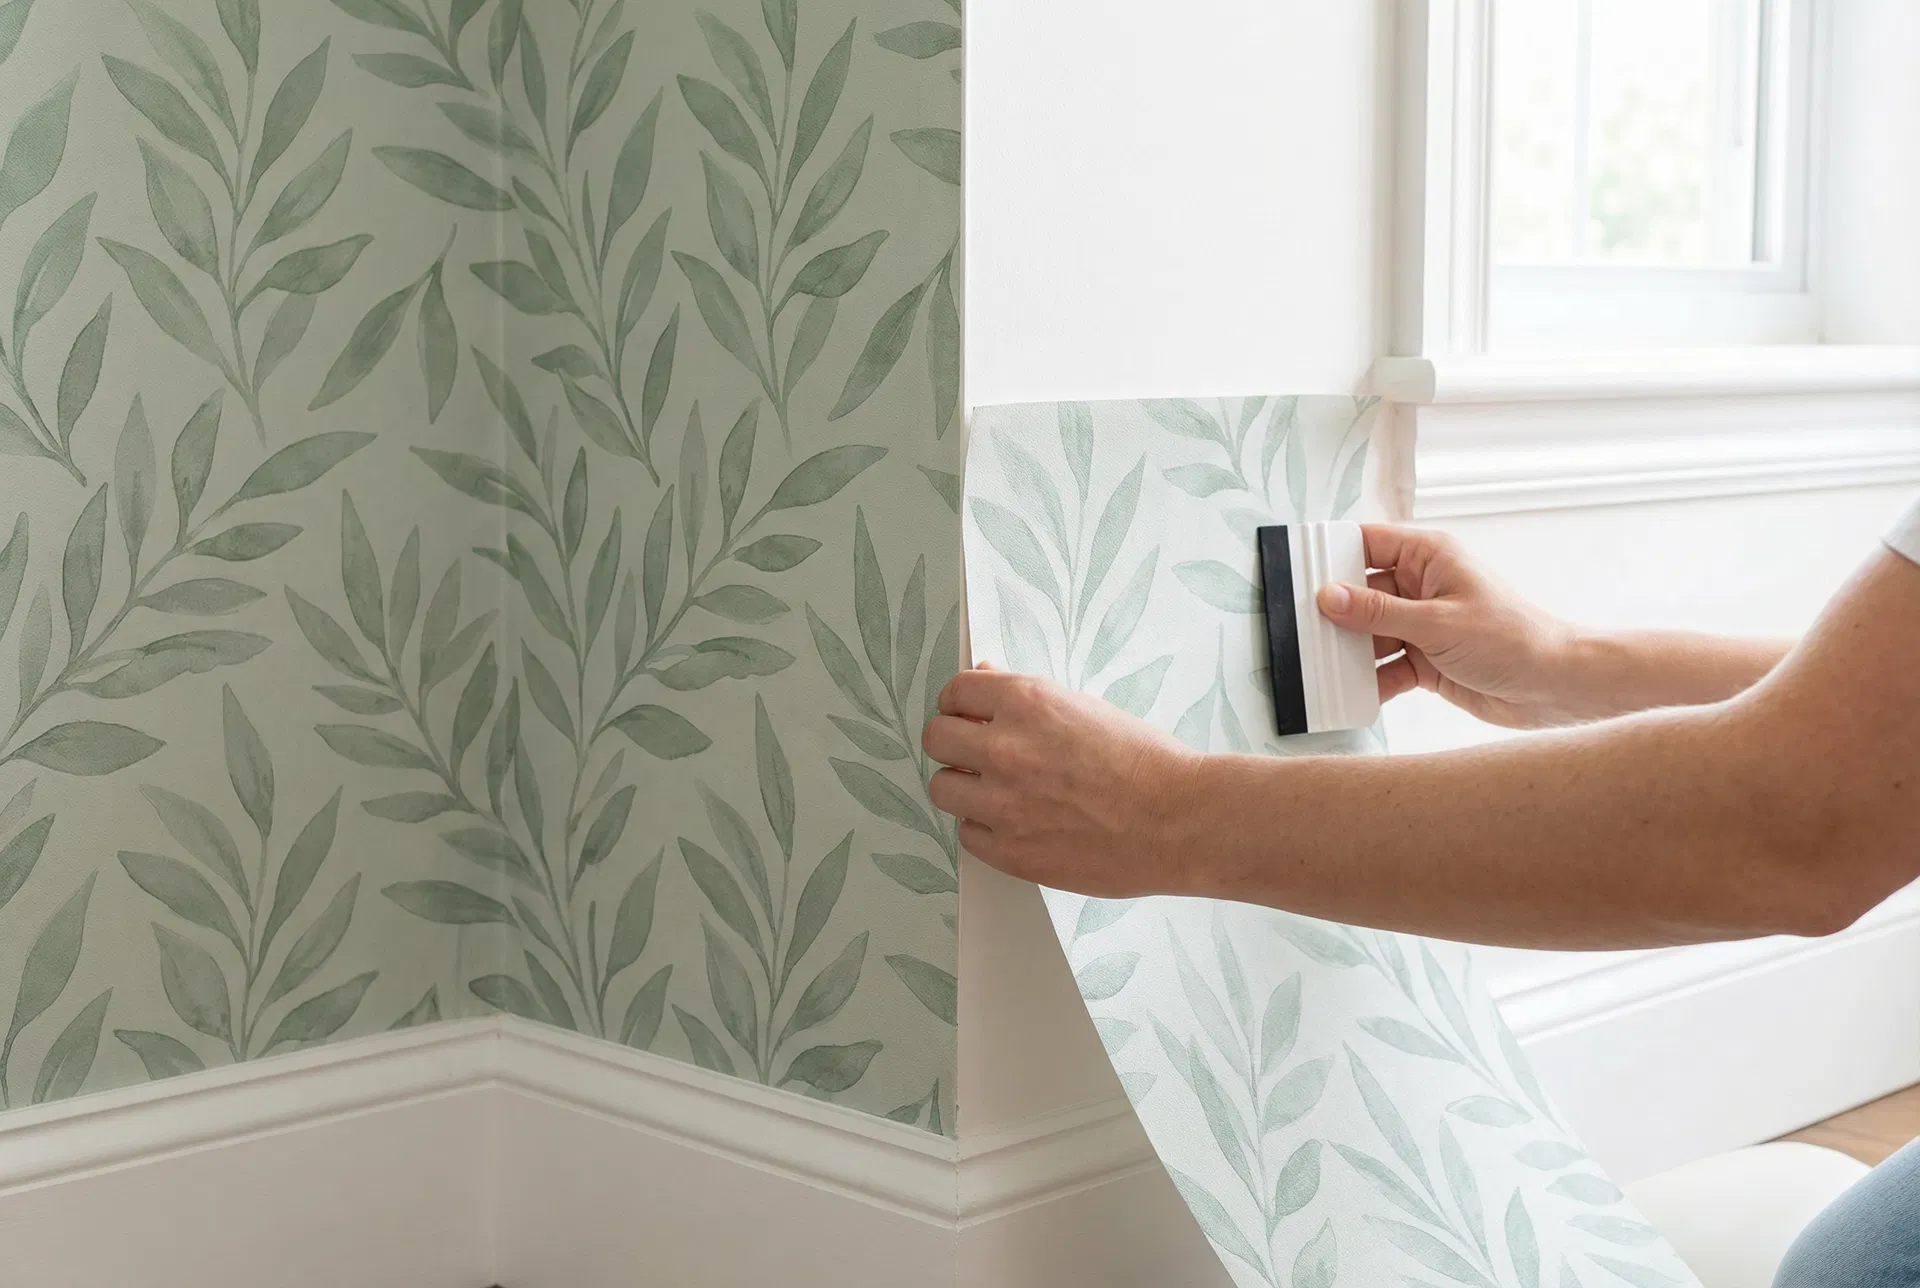
Peel a little, smooth a little
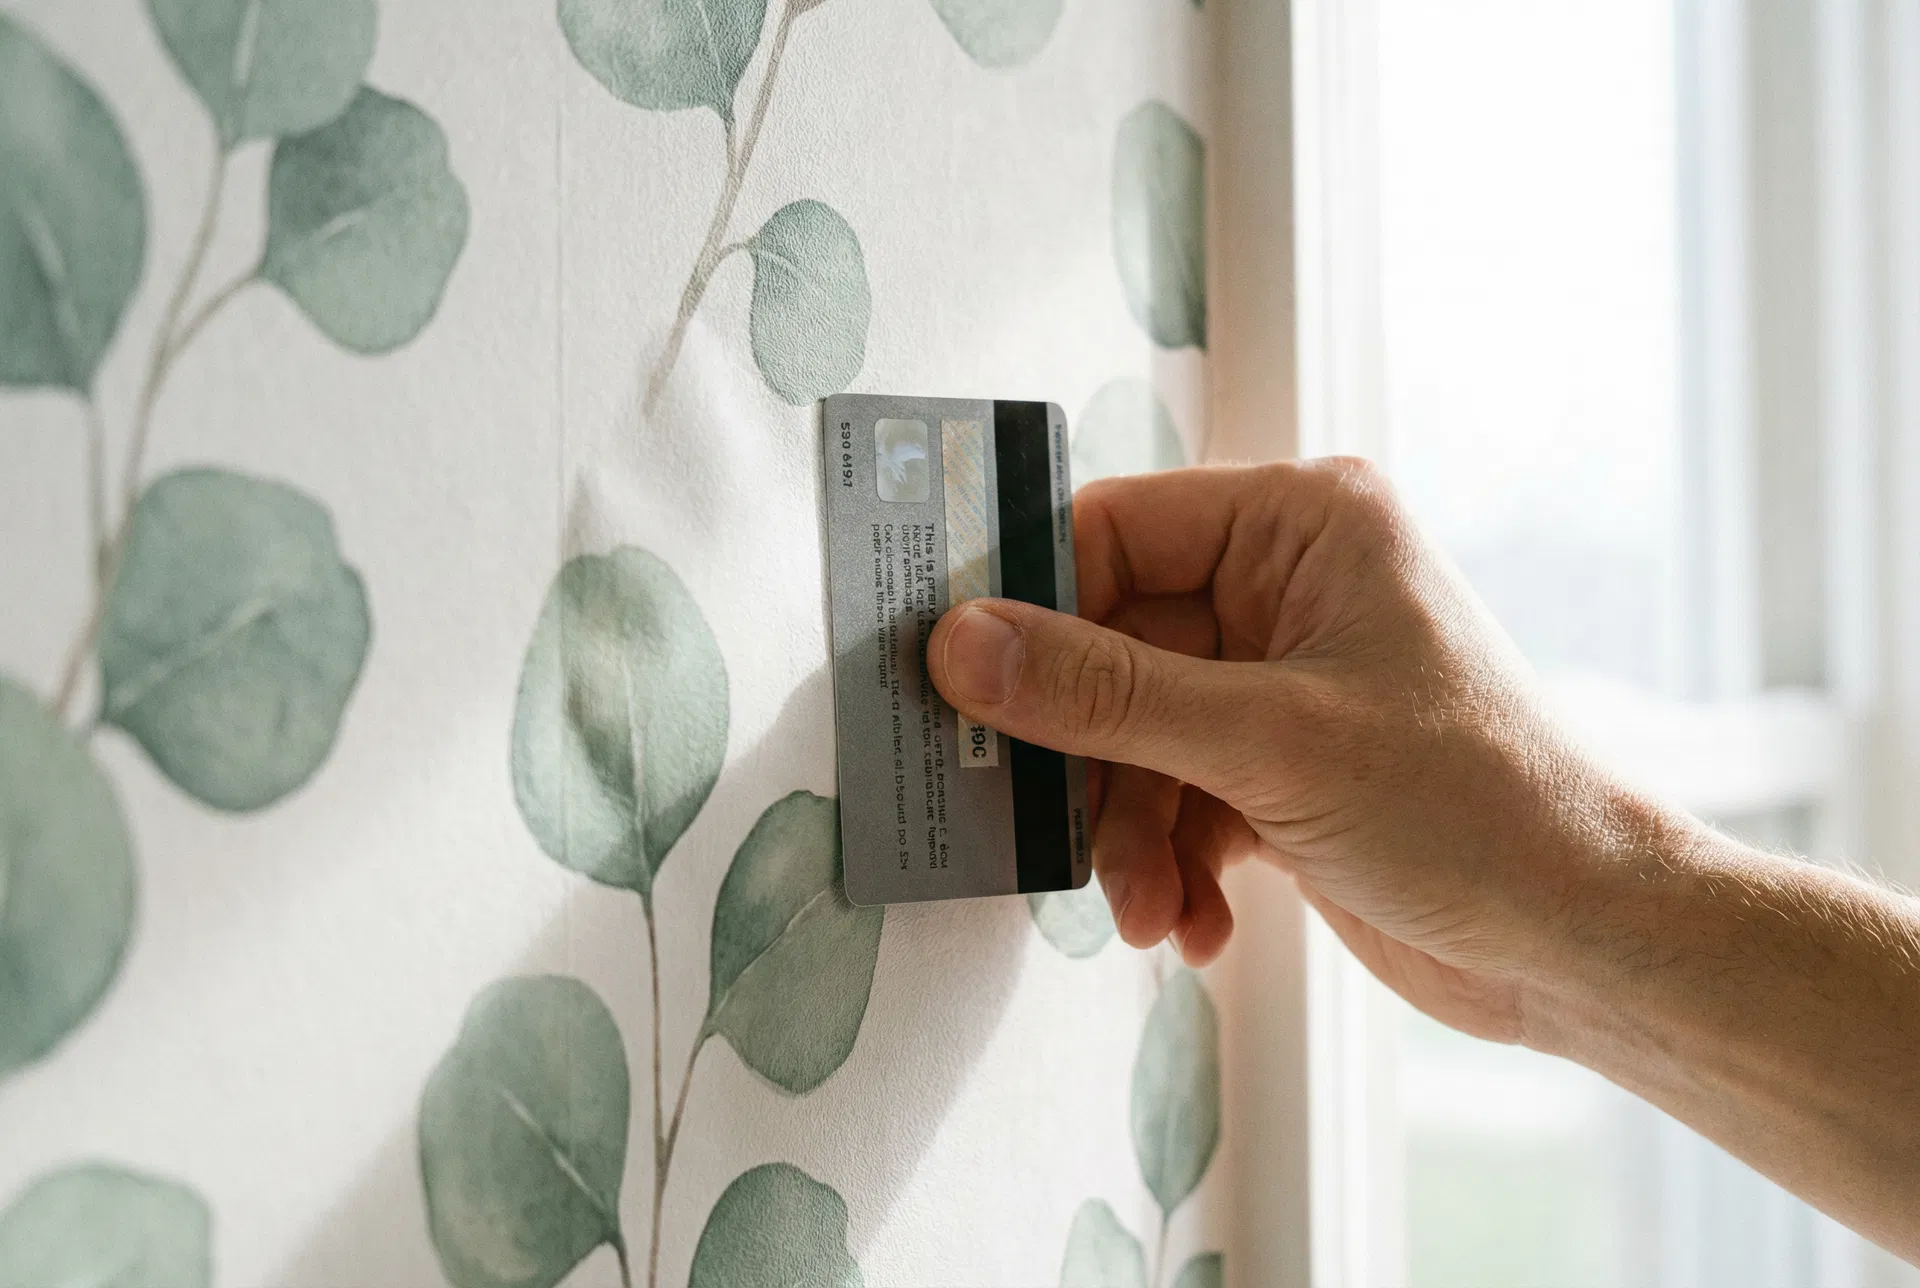
Never peel the entire backing off at once. Peel 15–20cm from the top, align the panel to your pencil line, press the top edge firmly, then continue peeling the backing downward in small sections while smoothing with your squeegee as you go. Work from the centre outward with each stroke.
-
Overlap seams by 2cm and match the pattern
Each panel should overlap the previous one by approximately 2cm. Before pressing firmly, check that the pattern aligns correctly — the panels are numbered in sequence. You can reposition while the adhesive is still fresh. Once you're happy with the alignment, press the seam firmly with your squeegee.
-
Trim at ceiling, floor, and obstacles
Use a sharp craft knife and a straight edge to trim excess wallpaper at the ceiling line, skirting board, and around any obstacles like power points or light switches. Always use a fresh blade — a dull blade will tear rather than cut cleanly.
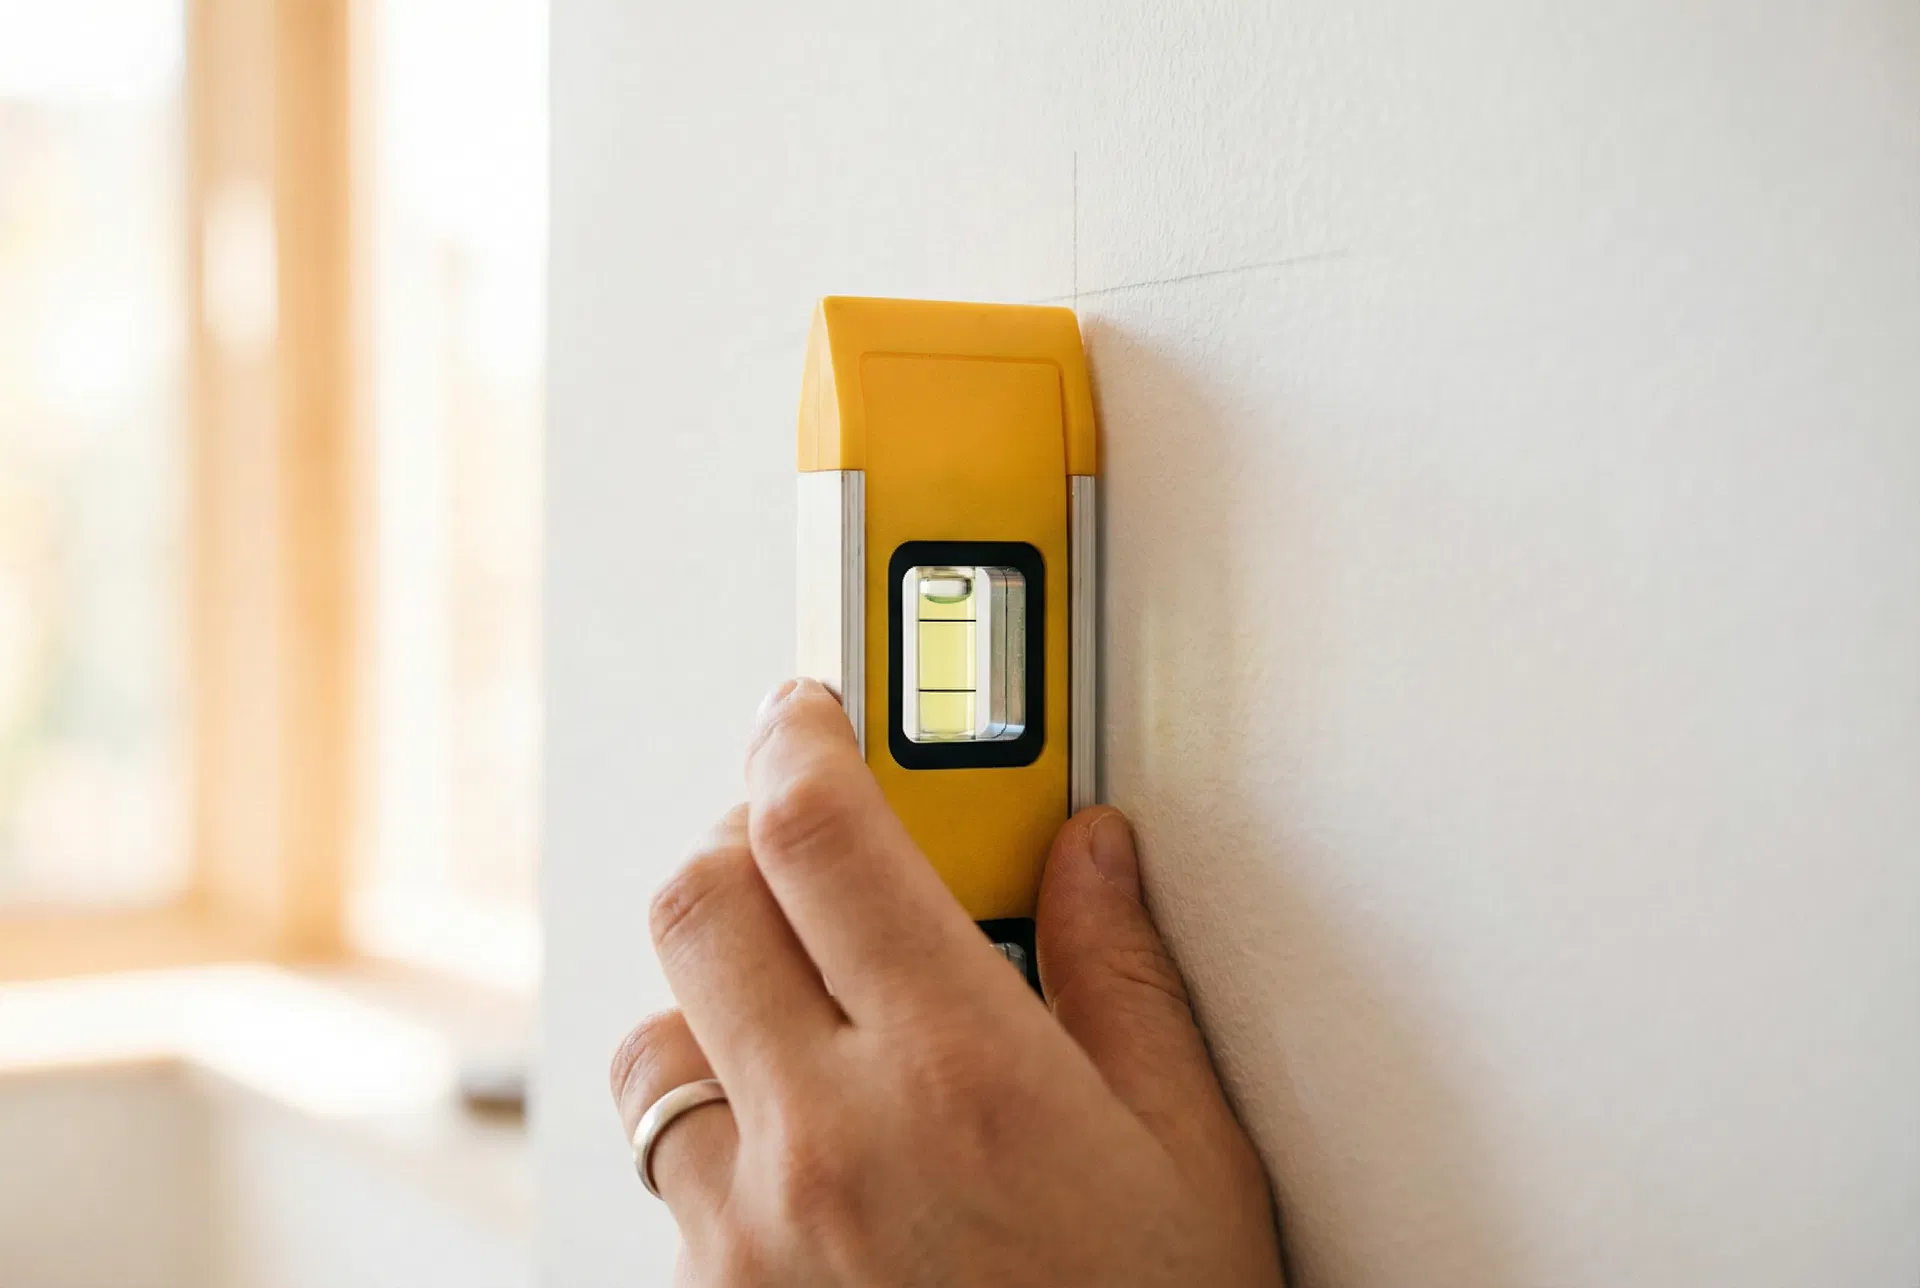
Why the Plumb Line Matters
This is the step most beginners skip — and the one that causes the most visible problems. Walls in Australian homes are rarely perfectly square. Corners drift, ceilings slope, and skirting boards aren't always level.
If you start from a corner and assume it's vertical, your panels will be straight relative to the corner — but crooked relative to the room. By the time you've applied 4–5 panels, the drift becomes very obvious. A 2-minute plumb line check prevents this entirely.
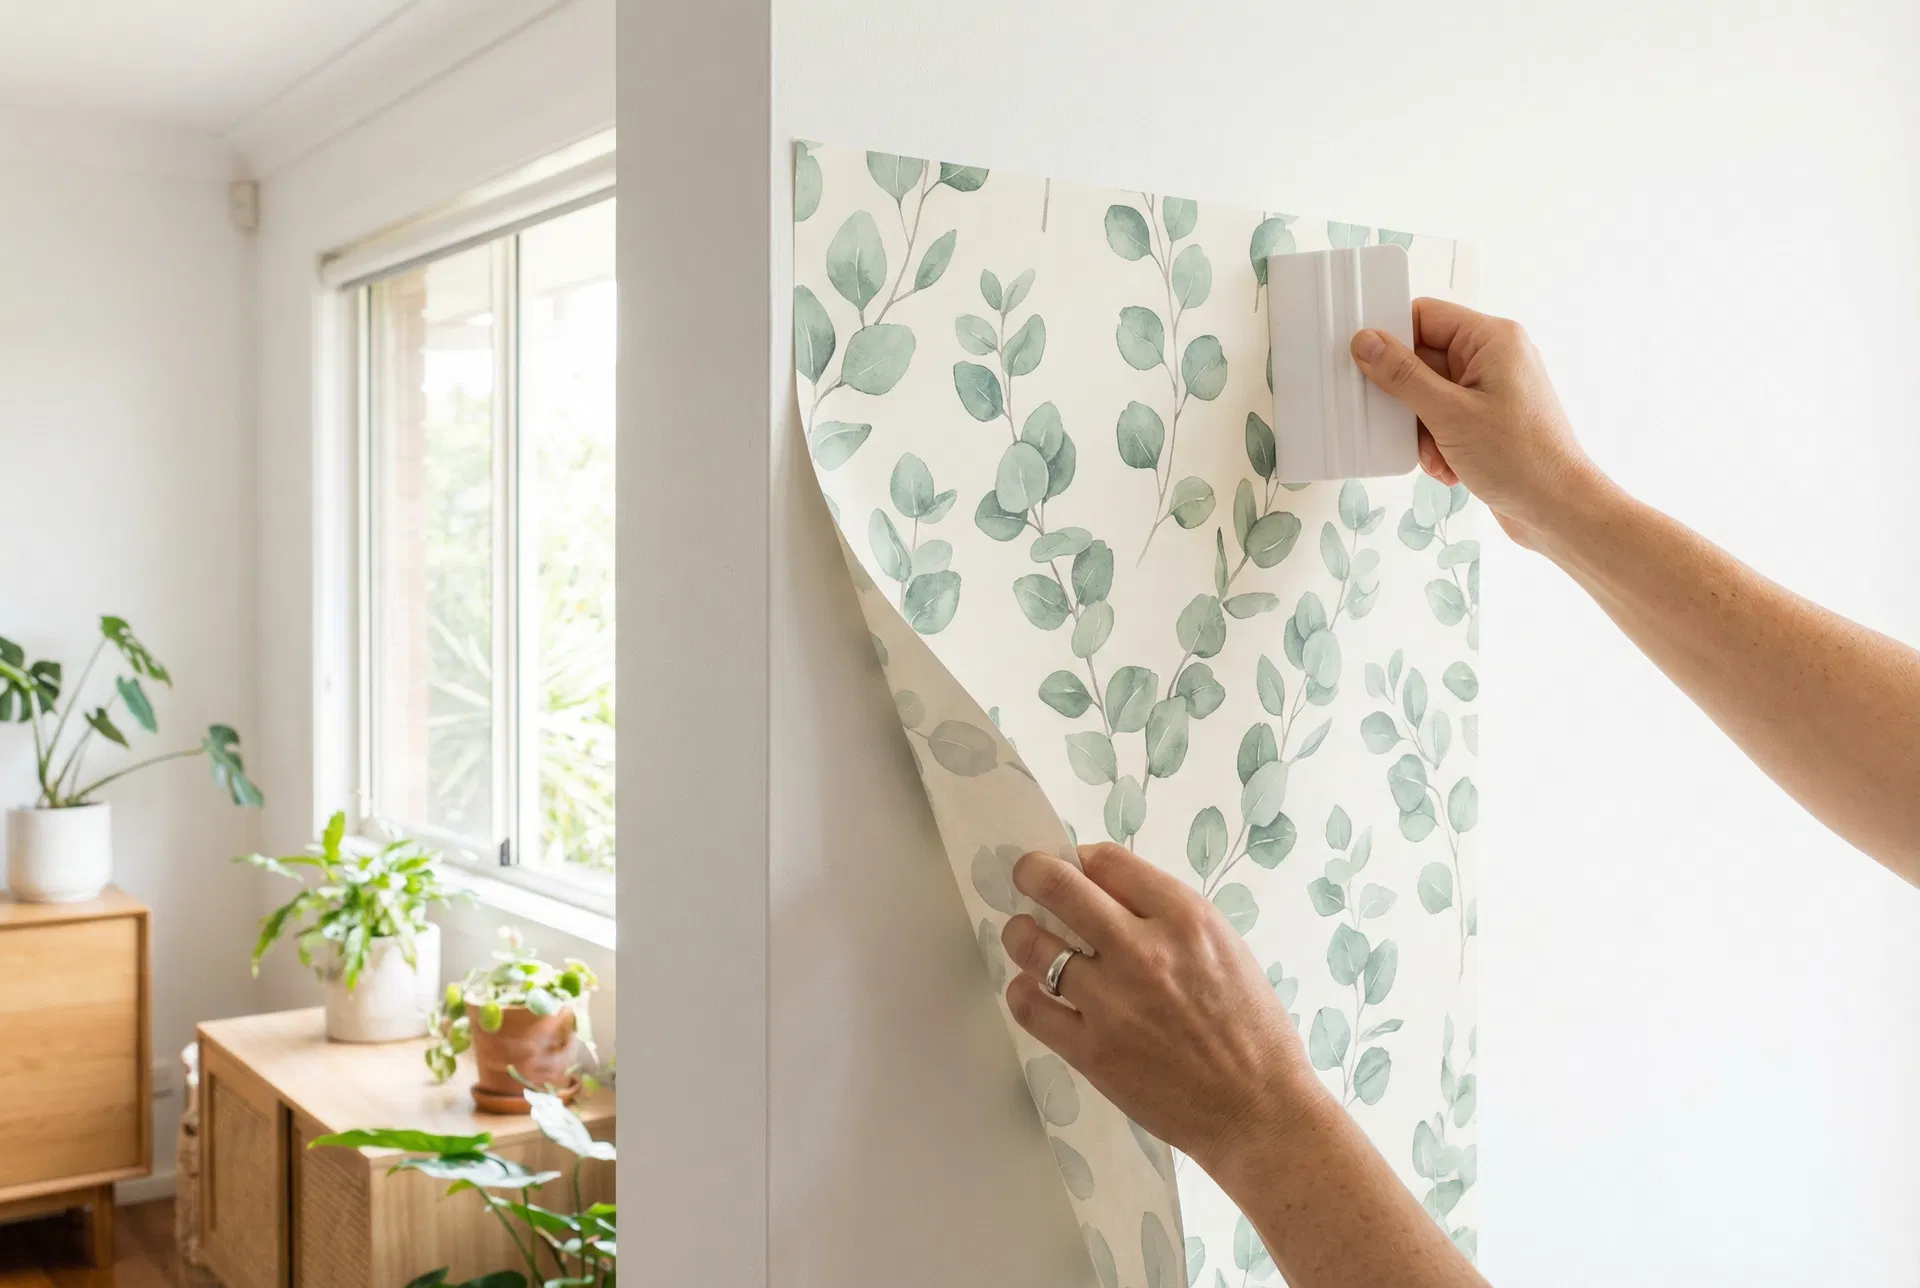
The Peel-a-Little, Smooth-a-Little Technique
The single biggest installation mistake is peeling the entire backing off before applying the panel. This causes the panel to fold onto itself, stick to your hands, and makes repositioning nearly impossible.
Instead: peel 15cm, align and press the top edge, then continue peeling downward in small sections while smoothing with a squeegee. You stay in control the entire time, and you can reposition any section before it's fully pressed.
How-To Tutorials
Specific guidance for the most common wallpaper projects and situations. Each tutorial covers the exact approach, what to watch out for, and the most common mistakes.
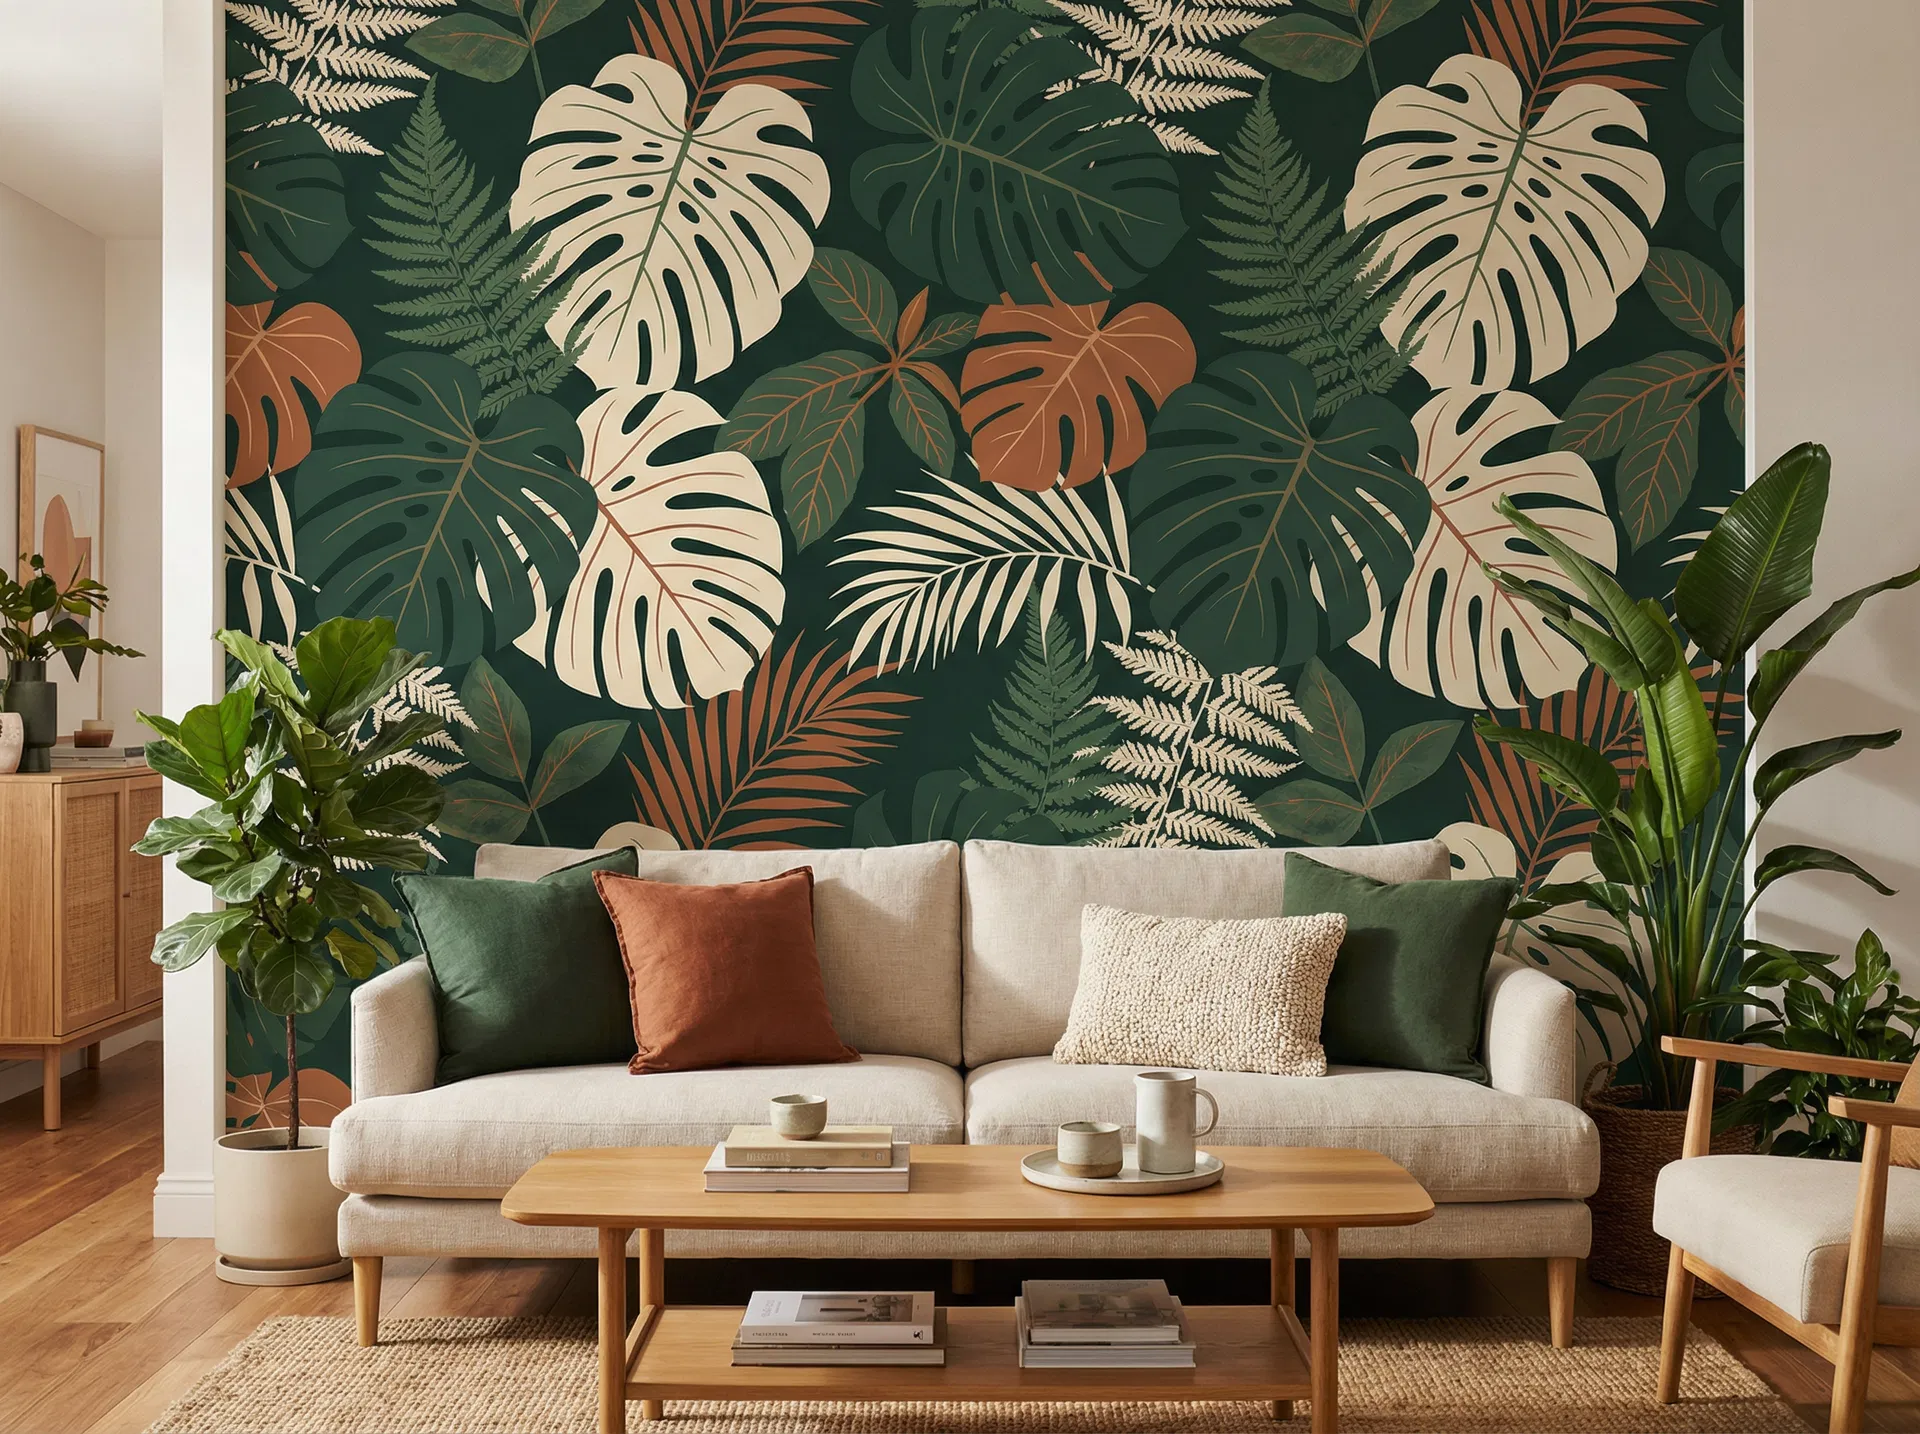
Full Feature Wall
Complete coverage from corner to corner. Start with a plumb line, work panel by panel with 2cm overlaps, and trim at ceiling, floor, and edges with a sharp knife.
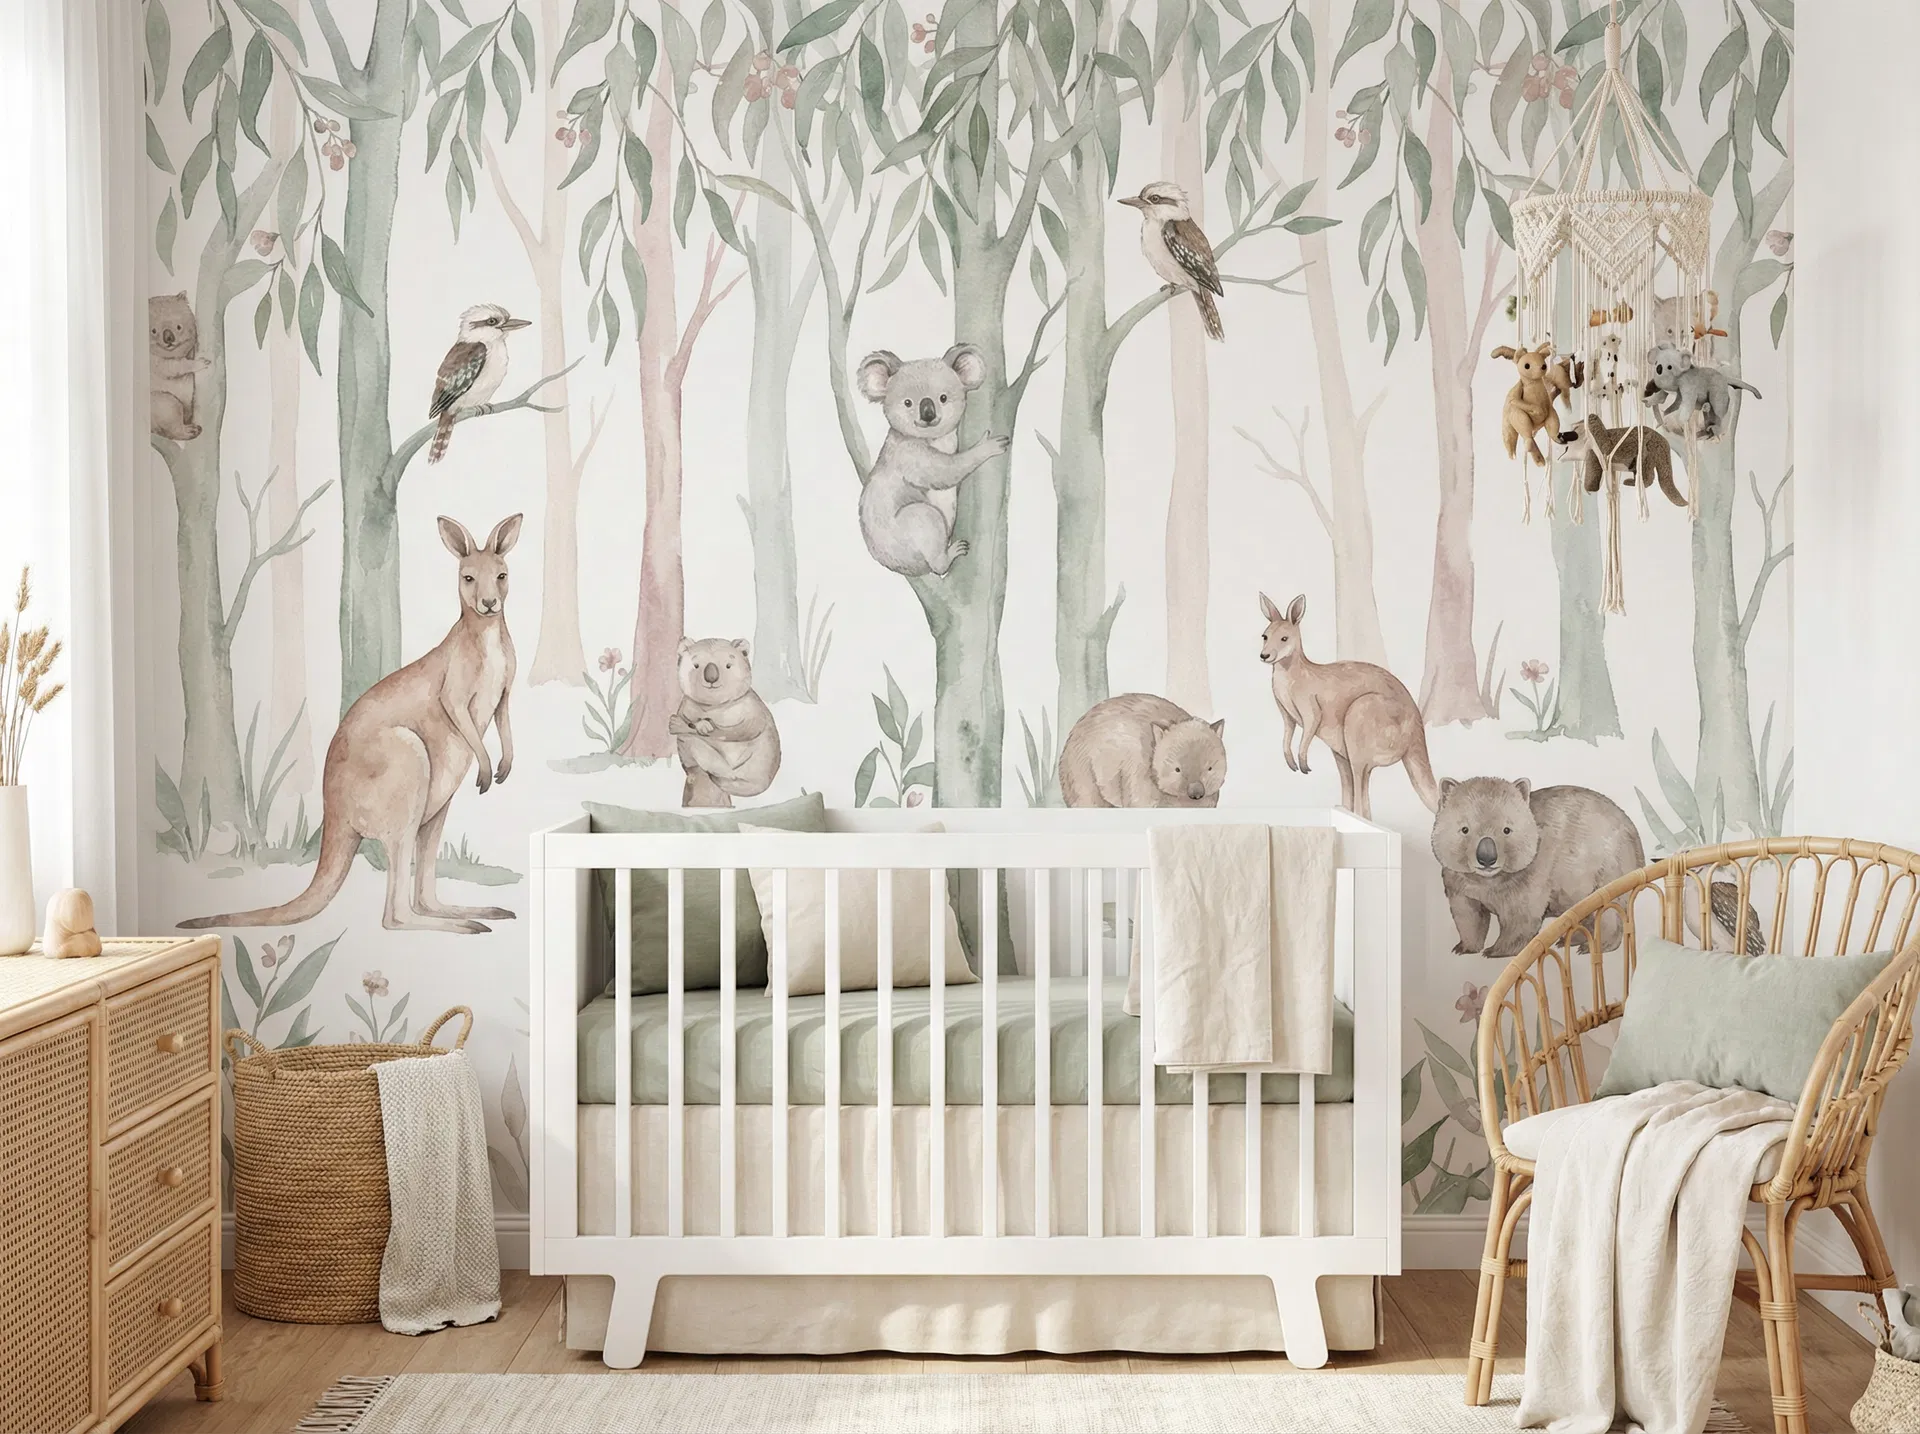
Nursery Feature Wall
Choose the wall behind or opposite the cot. Ensure all edges are pressed firmly for safety. Check edges monthly as nurseries experience temperature fluctuations from heating and cooling.
Internal & External Corners
Wrap the panel 1–2cm around the corner, then mark a new vertical on the adjacent wall and overlap the next panel over the wrap. Trim the overlap with a sharp knife for a clean seam.
Around a Window or Door
Apply the panel over the opening, cut a diagonal relief cut to each corner of the window frame, then trim to the frame edge. Wrap edges into the window reveal for a polished finish.
Half-Wall / Dado Style
Mark your desired height with a level line, apply painter's tape along the line, install panels from the line downward, and trim at the tape line for a clean edge. Add a timber batten for a premium finish.
Renters: Full Process
Always test with a sample first. Photograph walls before installation. Use heat on every panel during removal. Peel at a very low angle — never outward. Understand your rights if pre-existing paint lifts.
Measuring & Ordering Correctly
Measure wall width in cm, divide by 62 (panel width), round up, then add one extra panel as a buffer. Always order at least one spare — designs can be discontinued and print runs can vary slightly in colour.
Layered Forest Effect
Lay all pieces out on the floor first and plan your composition before applying anything. Start with background pieces and work forward. Overlap pieces to create depth. Step back frequently to check the overall effect.
How to Remove Wallpaper Correctly
Removal technique matters as much as installation. The wrong approach — especially pulling outward rather than flat — is the most common cause of paint damage.
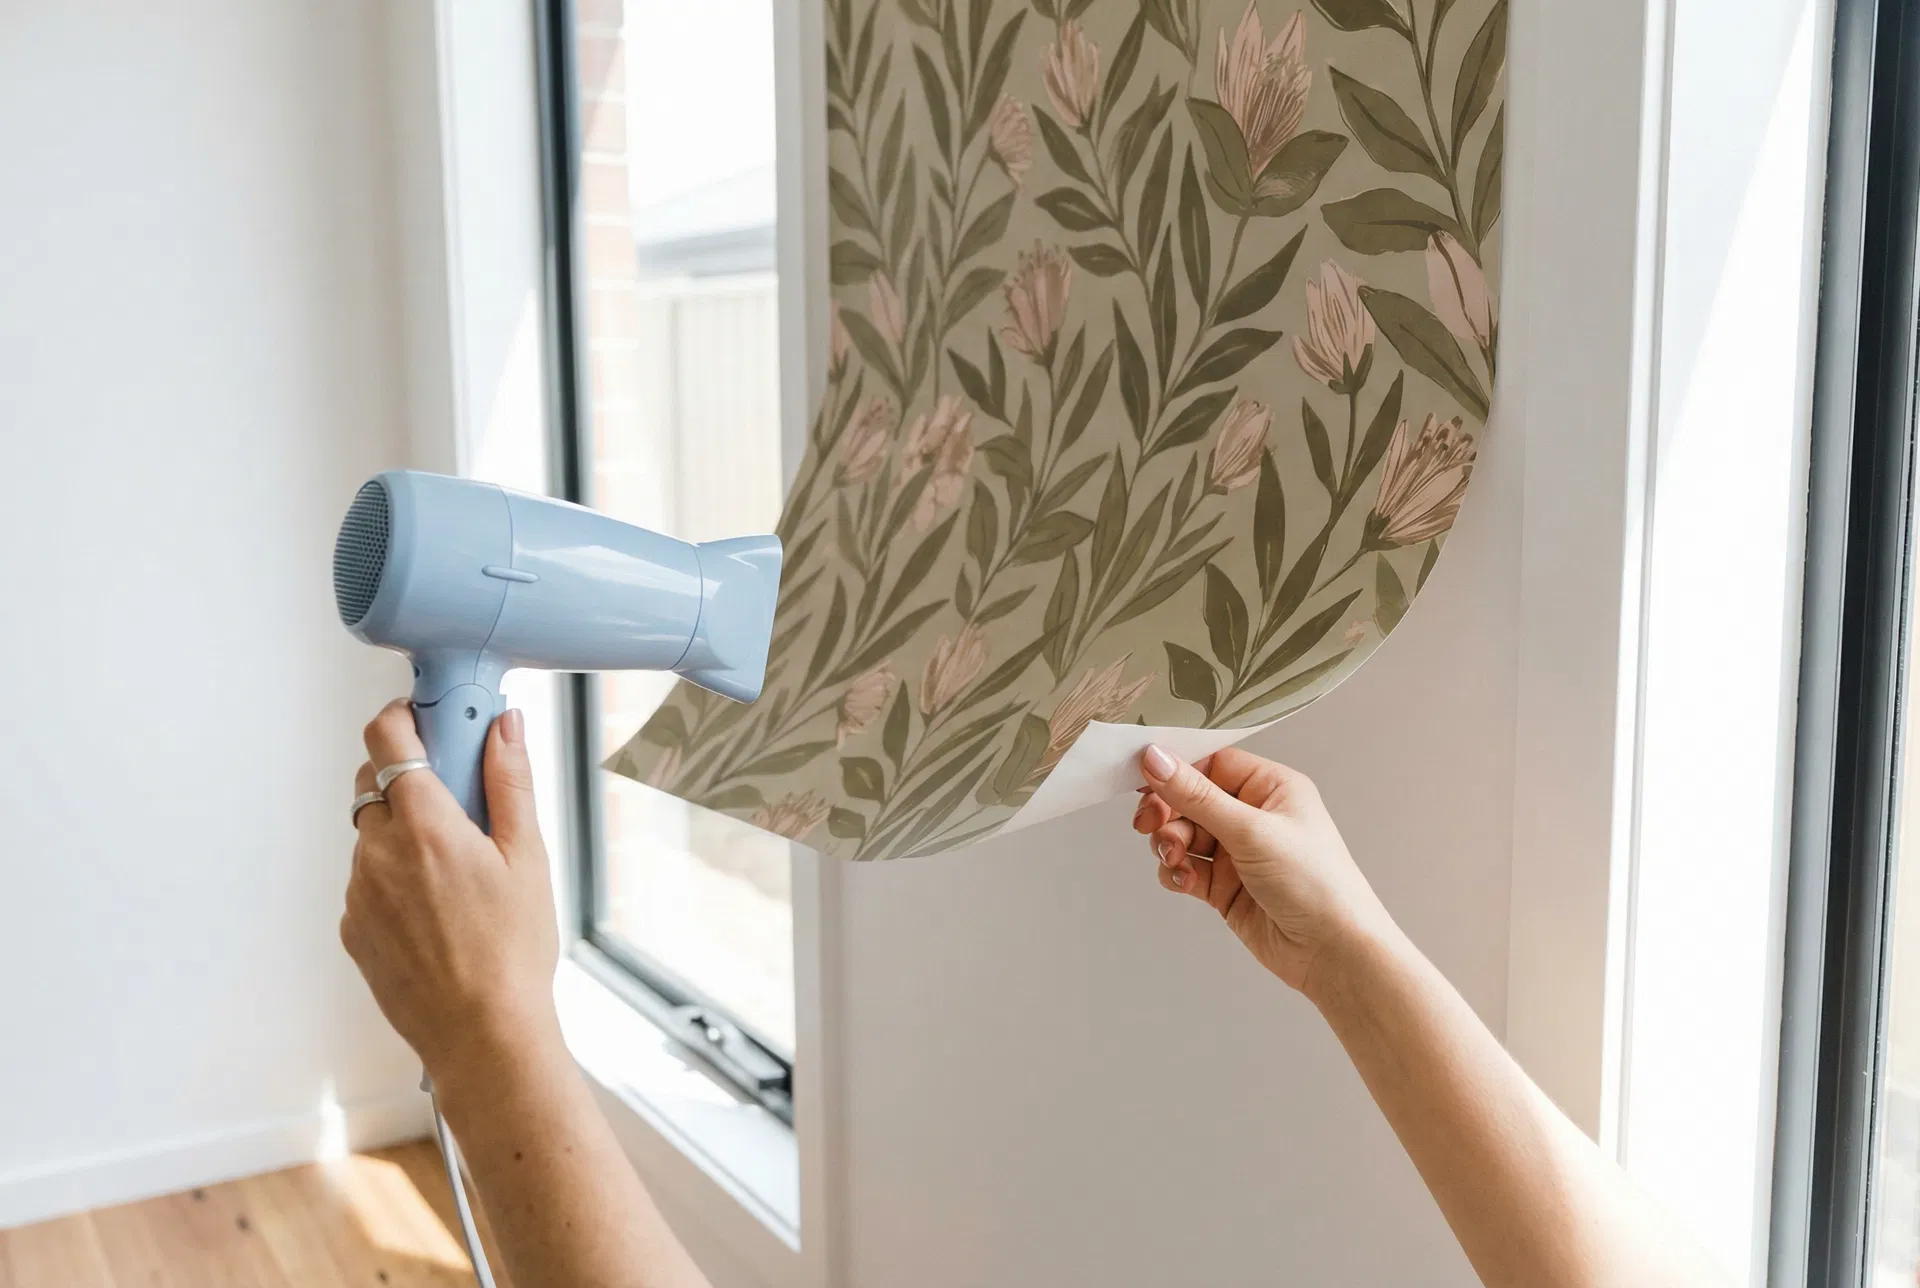
The Low-Angle Technique
The most important rule of removal: peel flat against the wall, not outward. When you pull a panel away from the wall at a 90-degree angle, you're applying maximum force to the paint surface. When you peel at a very low angle — almost parallel to the wall — the force is distributed and the adhesive releases more gradually.
Combined with a hairdryer on low heat (which softens the adhesive), this technique removes panels cleanly from walls that are in good condition.
-
Start at a corner or edge
Find a corner or the edge of a panel and gently lift it with your fingernail or a flat plastic tool. Never use a metal scraper — this will damage the wall surface.
-
Apply heat with a hairdryer
Hold a hairdryer on its lowest heat setting 5–10cm from the wall and move it slowly across the area you're about to peel. The heat softens the adhesive and makes it release more easily. Do not use high heat — this can damage the paint.
-
Peel at a very low angle
Hold the panel almost flat against the wall — at roughly 15–20 degrees — and peel slowly and steadily. If you feel resistance, apply more heat before continuing. Never force it.
-
Work in small sections
Don't try to remove an entire panel in one pull. Work in 20–30cm sections, applying heat as you go. This gives you maximum control and minimises the risk of paint lifting.
-
Clean any residue
If any adhesive residue remains on the wall after removal, it can usually be removed with a damp cloth and a small amount of rubbing alcohol or eucalyptus oil. Test in an inconspicuous area first.
-
Photograph the wall after removal
For renters, take clear photos of every wall immediately after removal. If the paint was in poor condition before you installed the wallpaper, this documentation is your evidence that any damage was pre-existing.
The Complete Renter's Guide
Renting shouldn't mean living with bare walls. Here's everything you need to know to install, enjoy, and remove wallpaper in a rental property — and protect your bond.
Check Your Lease First
Most Australian residential leases allow temporary, removable wall coverings — but some have specific restrictions. Read your lease agreement and, if in doubt, send a quick message to your property manager asking if removable peel-and-stick wallpaper is permitted. Most will say yes, especially if you explain it's designed to be removed cleanly.
The Renter's Pre-Installation Checklist
-
Photograph every wall before you start
Date-stamped photos of the wall's condition before installation are your most important protection. Capture any existing scuffs, marks, or paint imperfections. If there is any dispute at the end of your tenancy, these photos prove the wall's condition was pre-existing.
-
Order and apply a sample first
Apply the sample to your target wall and leave it for 72 hours. Remove it using a hairdryer on low heat at a low angle. If the paint comes with it, your wall has a pre-existing adhesion problem. Do not proceed with a full installation on that wall — choose a different wall or request a repaint first.
-
Note the paint type if you can
If you can find out what paint was used (ask your property manager or check the maintenance records), look for Dulux Wash & Wear, Taubmans Endure, or any "Easy Clean" or "Washable" paint. These are higher risk. Test with a sample regardless.
-
Install carefully and check edges weekly
Once installed, check the edges of each panel every week or two, especially in the first month. Press down any edges that are starting to lift before they become a larger problem.
-
Remove before your final inspection — not the day before
Give yourself at least a week before your final inspection to remove the wallpaper, clean the walls, and address any issues. Rushing removal is when mistakes happen.
-
Use heat and the low-angle technique for every panel
Do not skip the hairdryer step, even if the first few panels come off easily. Adhesive bond strengthens over time — panels that have been up for 12+ months will need more heat than panels installed recently.
-
Photograph the wall again after removal
If any paint has lifted — even if it was clearly a pre-existing adhesion failure — document it with photos immediately. A pre-existing wall defect is not tenant damage under Australian tenancy law. Your before-and-after photos are your evidence.
Your Rights if Paint Lifts
Under Australian tenancy law, tenants are responsible for damage they cause — but not for pre-existing defects or fair wear and tear. If paint lifts during removal because it was poorly bonded to the wall (the layered paint problem described above), that is a pre-existing wall defect, not tenant damage. Your before-and-after photos, combined with the sample test result, are strong evidence that the wall was already in poor condition before your wallpaper was applied.
Not sure about your walls? Start with a sample.
For $8, test colour, adhesion, and removability on your actual wall before committing to a full order. Dispatched within 48 hours from Melbourne.
Frequently Asked Questions
The most common questions we receive — answered honestly, without marketing spin.
Before You Buy
Installation
Removal & Longevity
Ready to Transform Your Walls?
Browse 100+ designs printed to order in Melbourne. Start with a sample to test colour and adhesion on your actual wall before you commit.